Last Updated on September 8, 2025
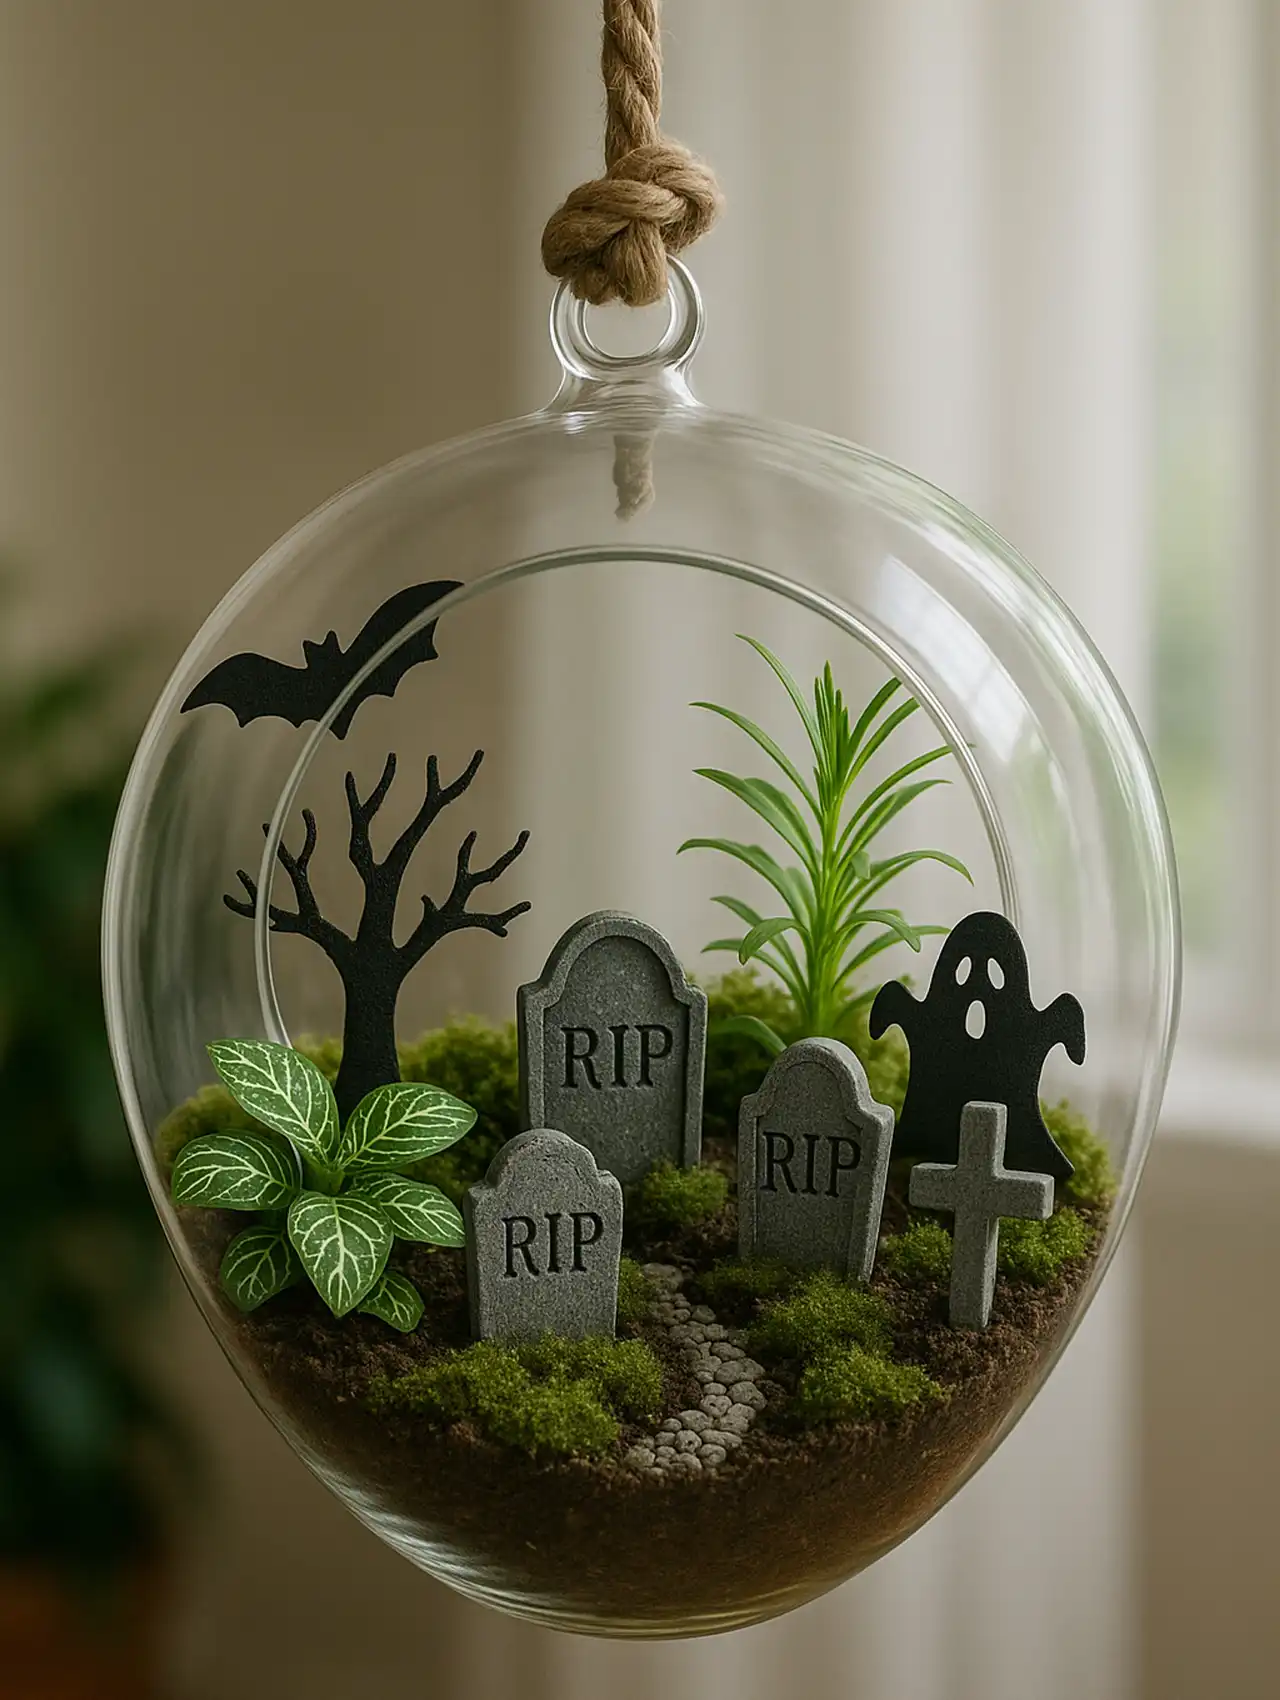
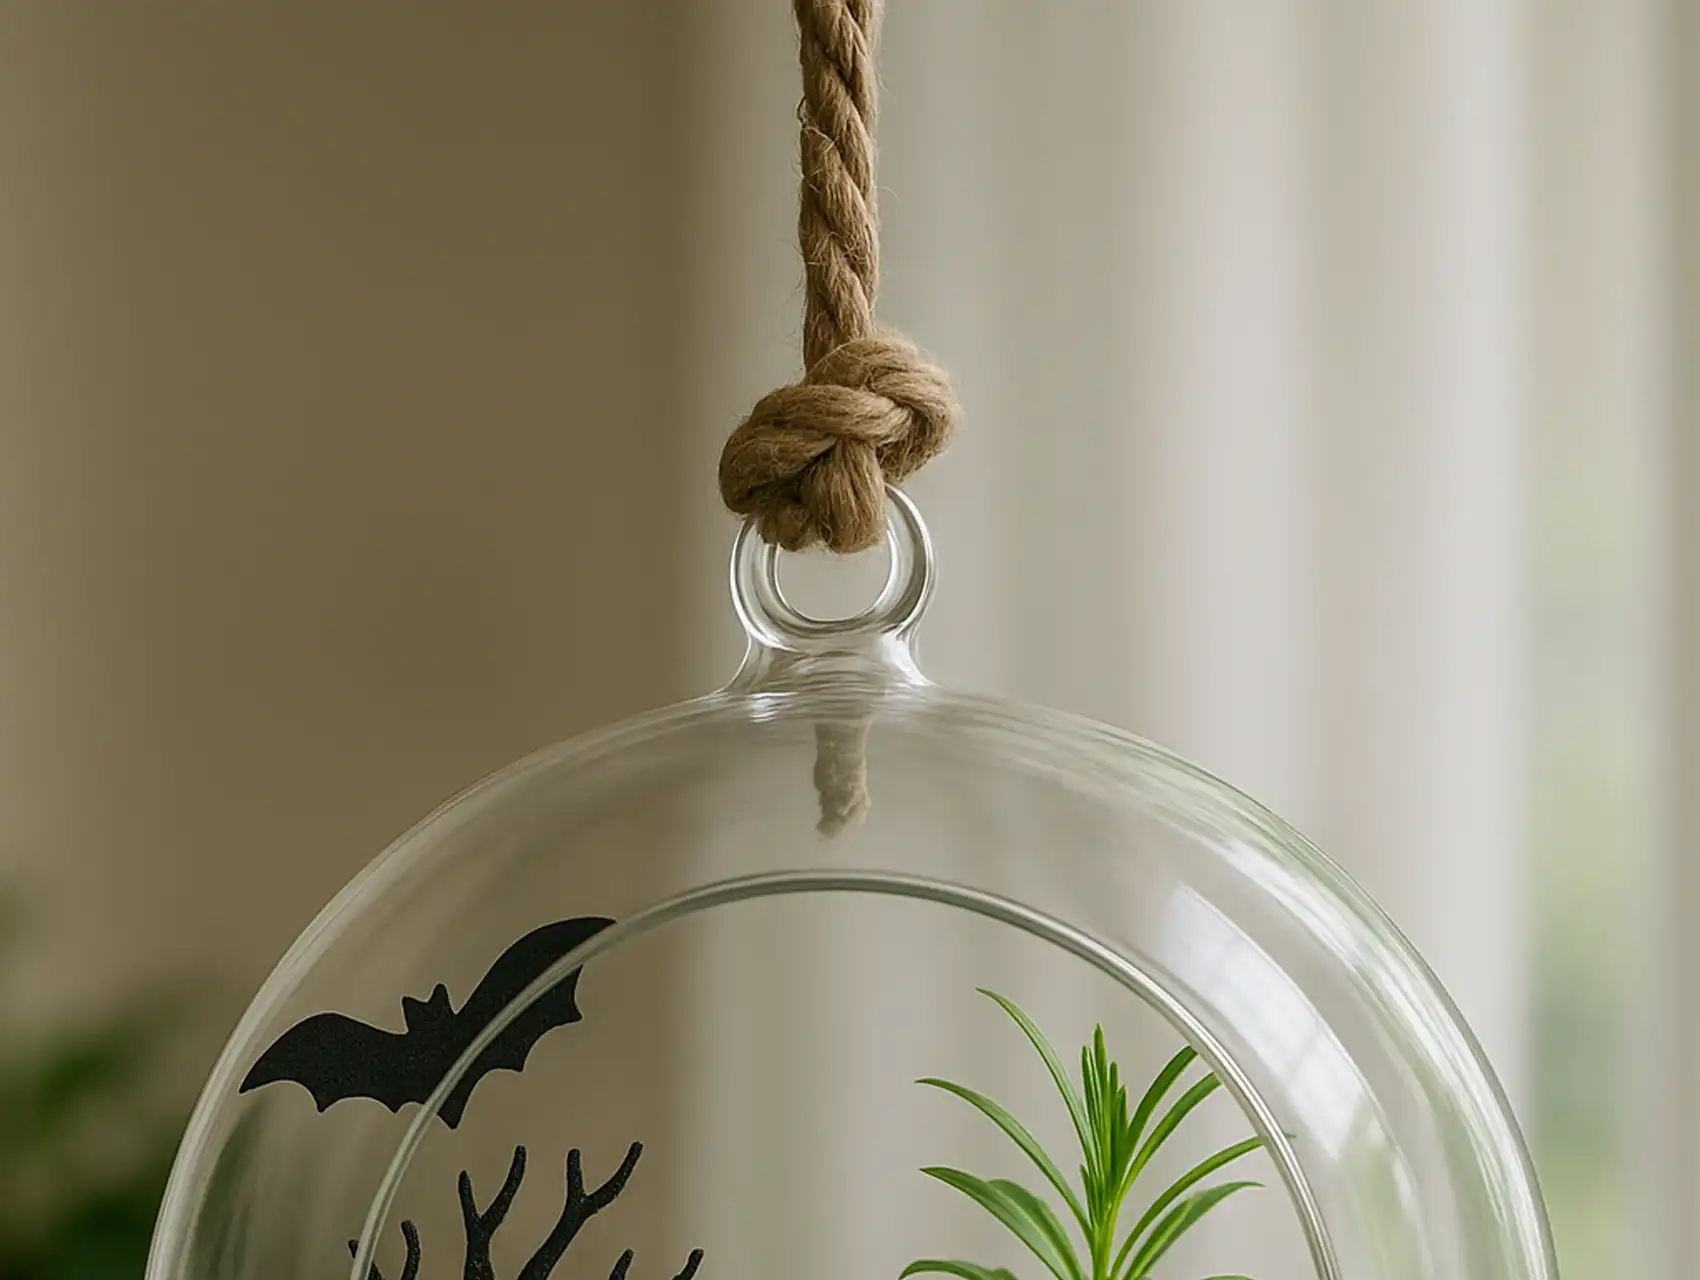
Hanging glass terrariums are all the rage right now, but creating a custom DIY terrarium is even better. A graveyard terrarium is a brilliant way to display all the haunted fun, and that’s not just for Halloween. There are even terrarium kits that can make this process a bit more streamlined, but if you’re bold enough to create a terrarium from scratch, then allow your imagination to take the wheel.
Terrariums are meant to house live plants, but you are always more than welcome to create an aesthetic that only uses fake greenery. This is your terrarium, so that you can do as you please.
However, for this article, we will focus on using real plants. The layering process involved in this takes a bit of additional forethought and knowledge, so we have included some of the recommended steps below:
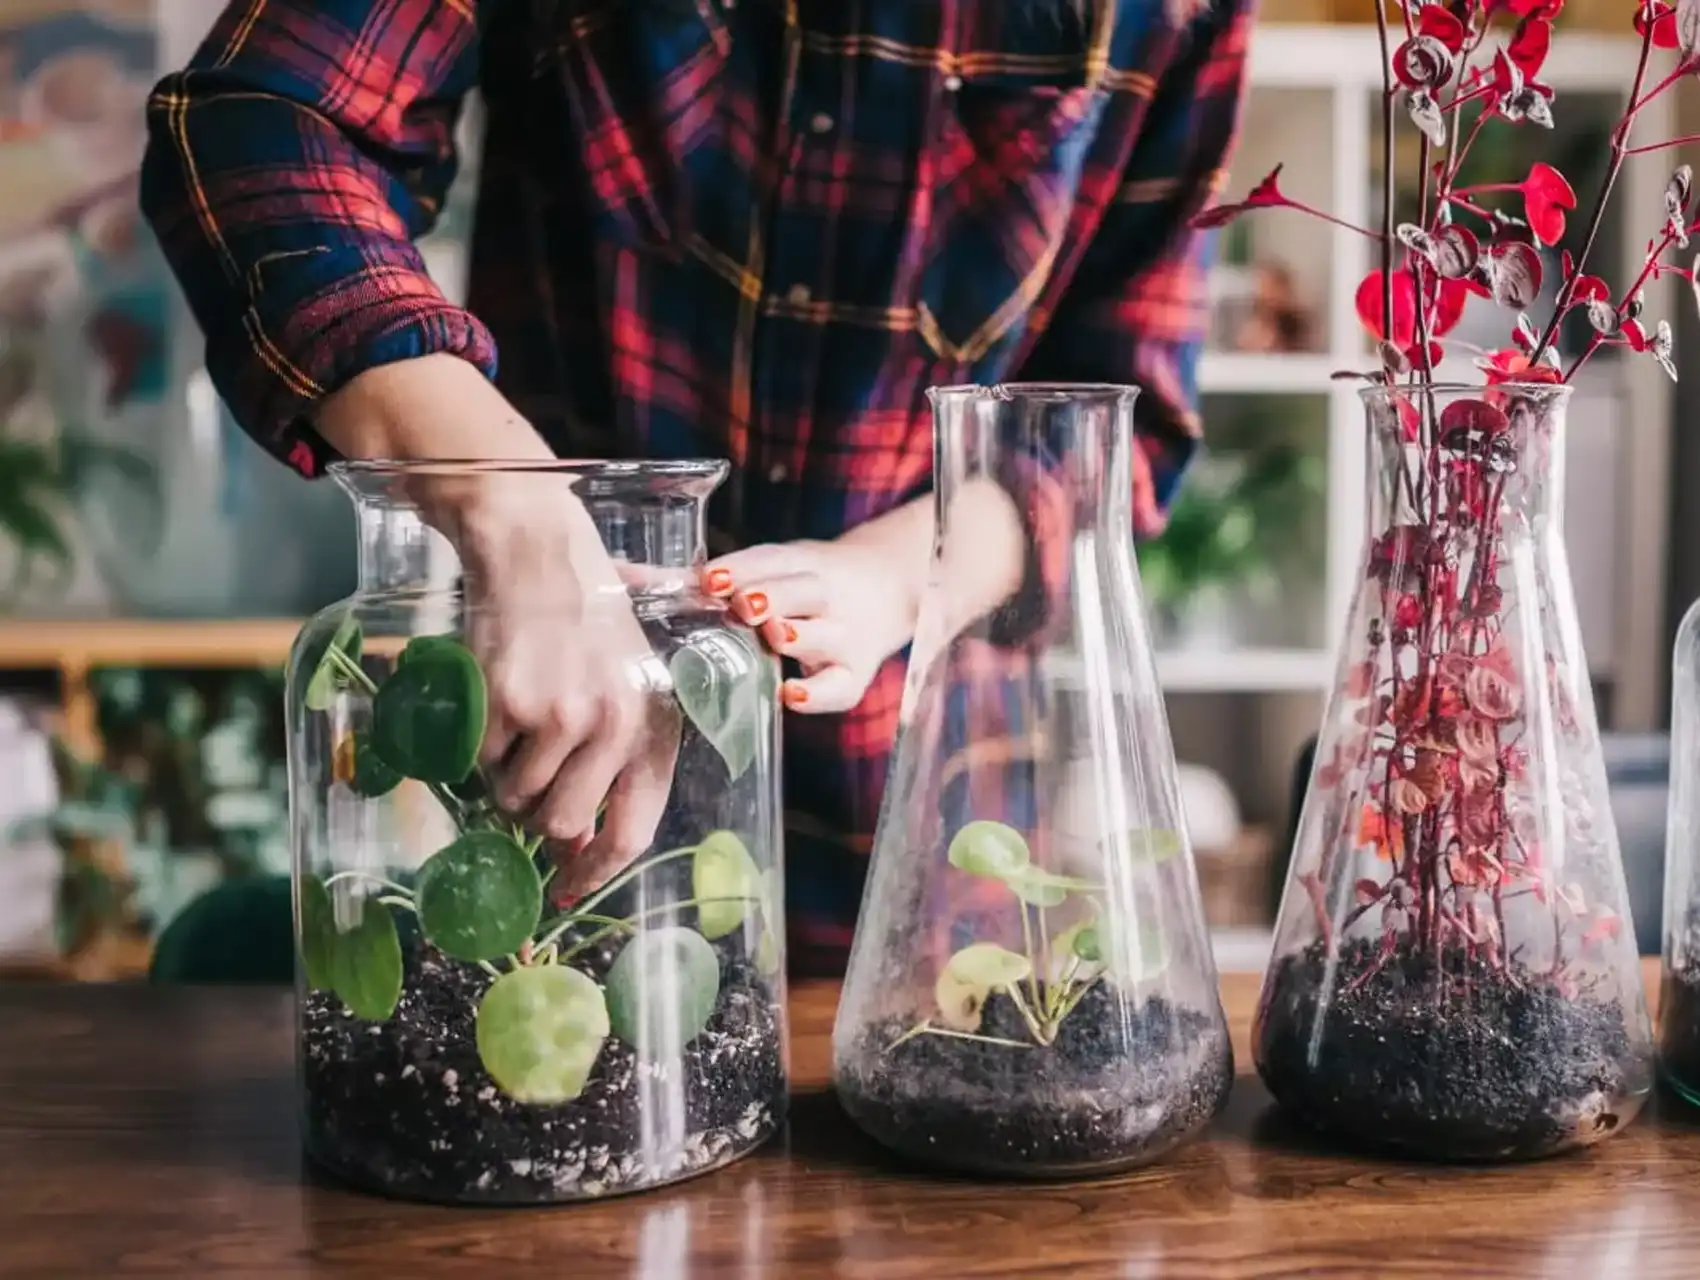
1. Choosing Your Container
Before you start assembling your terrarium, decide on its style and gather all the necessary materials. For this spooky graveyard DIY terrarium, we are going to add some fun zombie touches. First, pick a container that will house your terrarium. Glass is commonly used, but plastic is lighter to hang. Next, decide if you want yours to hang or sit flat on a table. Also, it’s okay to explore various types of containers that you have recycled as well. There are really no rules to this, but choose a container that can hold all the things that you want inside of it.
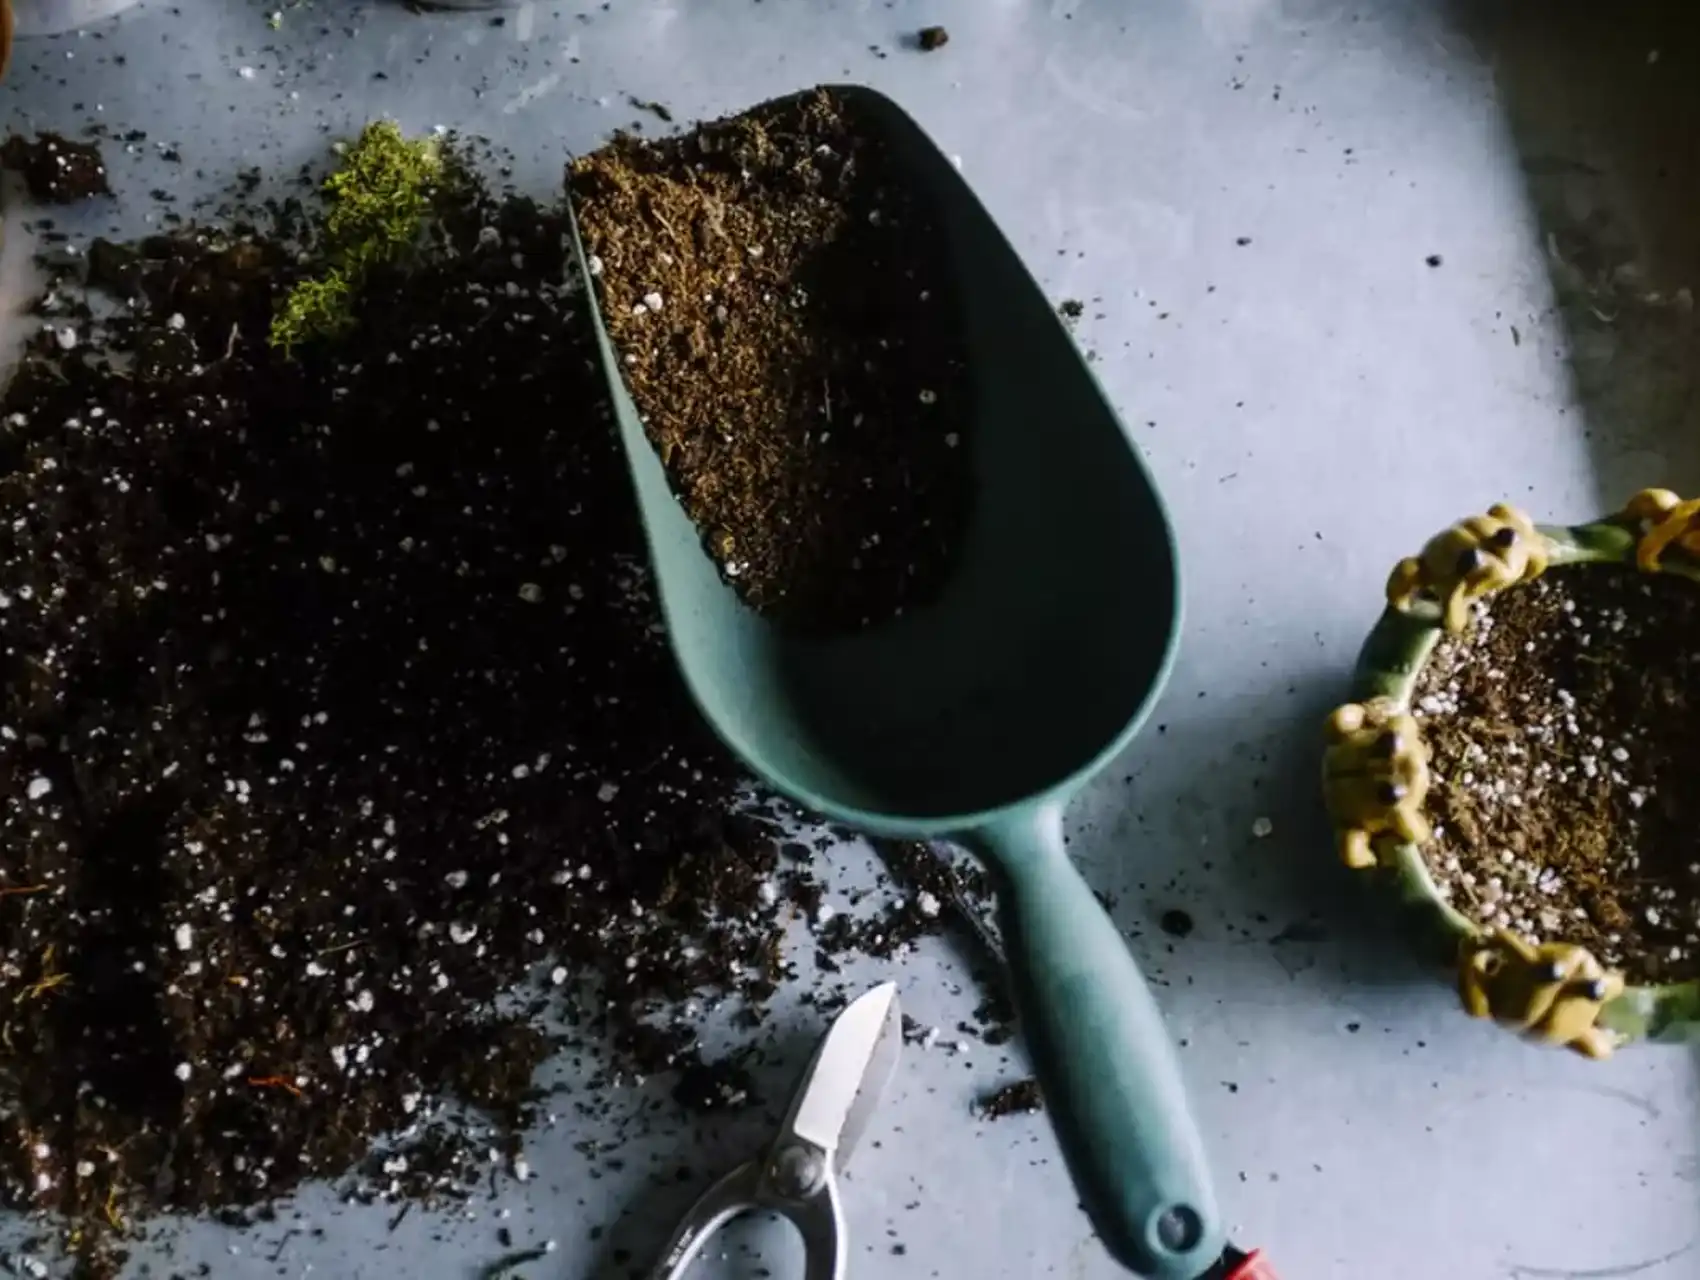
2. Gathering Your Live Plant Materials
A terrarium will need fresh potting soil, including a one-inch layer of sand and crushed charcoal for drainage, along with your plants. Then you need to decide if your container will be open or closed. Succulents and cacti thrive in an open container environment, since it allows humidity to evaporate and prevents mold. If you opt for a closed container, mosses and Angel’s tears would work great.
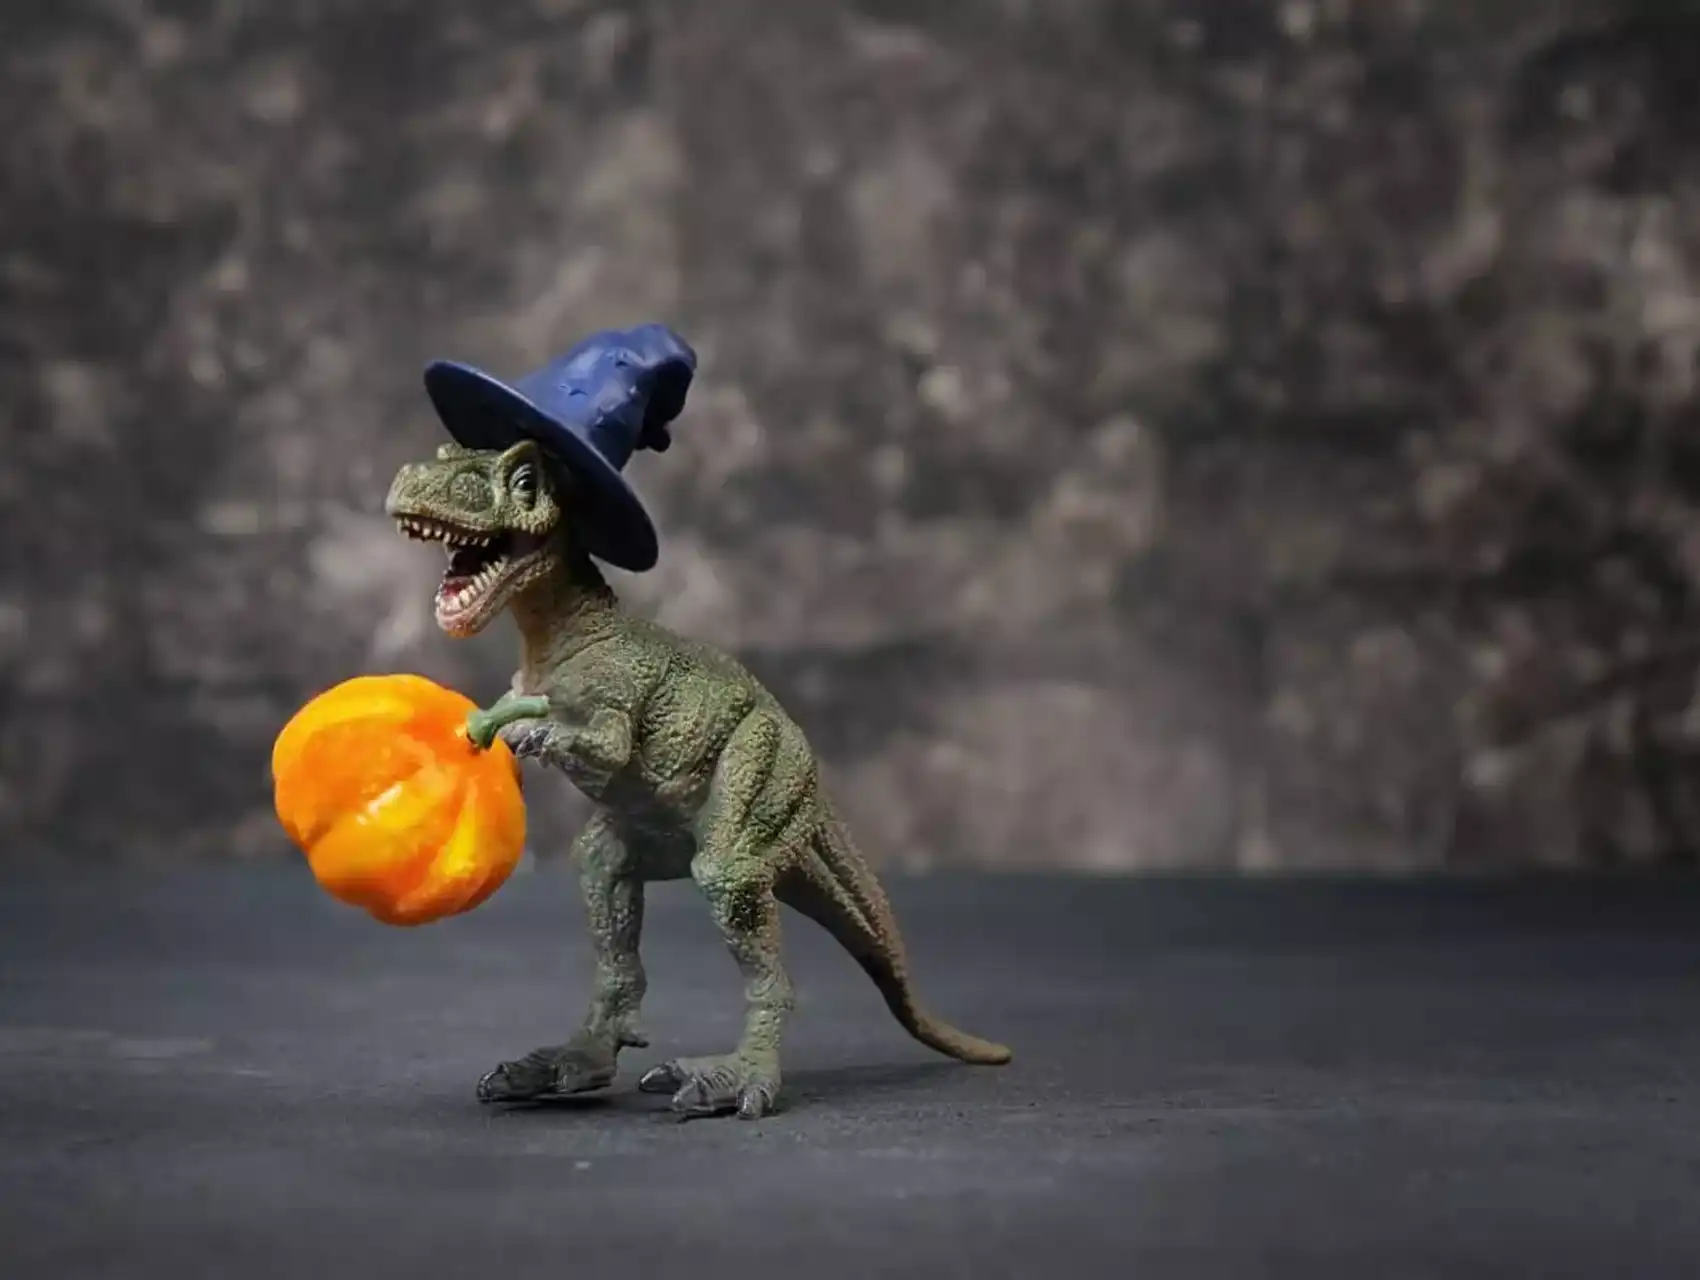
3. Gathering Your Spooky Fake Materials
A spooky graveyard can embrace some darker greenery or even black foliage that you spray paint with an airbrush or buy. If you want characters like skeletons or zombie body pieces, make sure to leave enough space for them. You can also add some creative touches, like fake blood dripping down the container for some extra gore. The key is to choose statement pieces that don’t overcrowd your terrarium but still display that spooky is very much your terrarium’s theme.

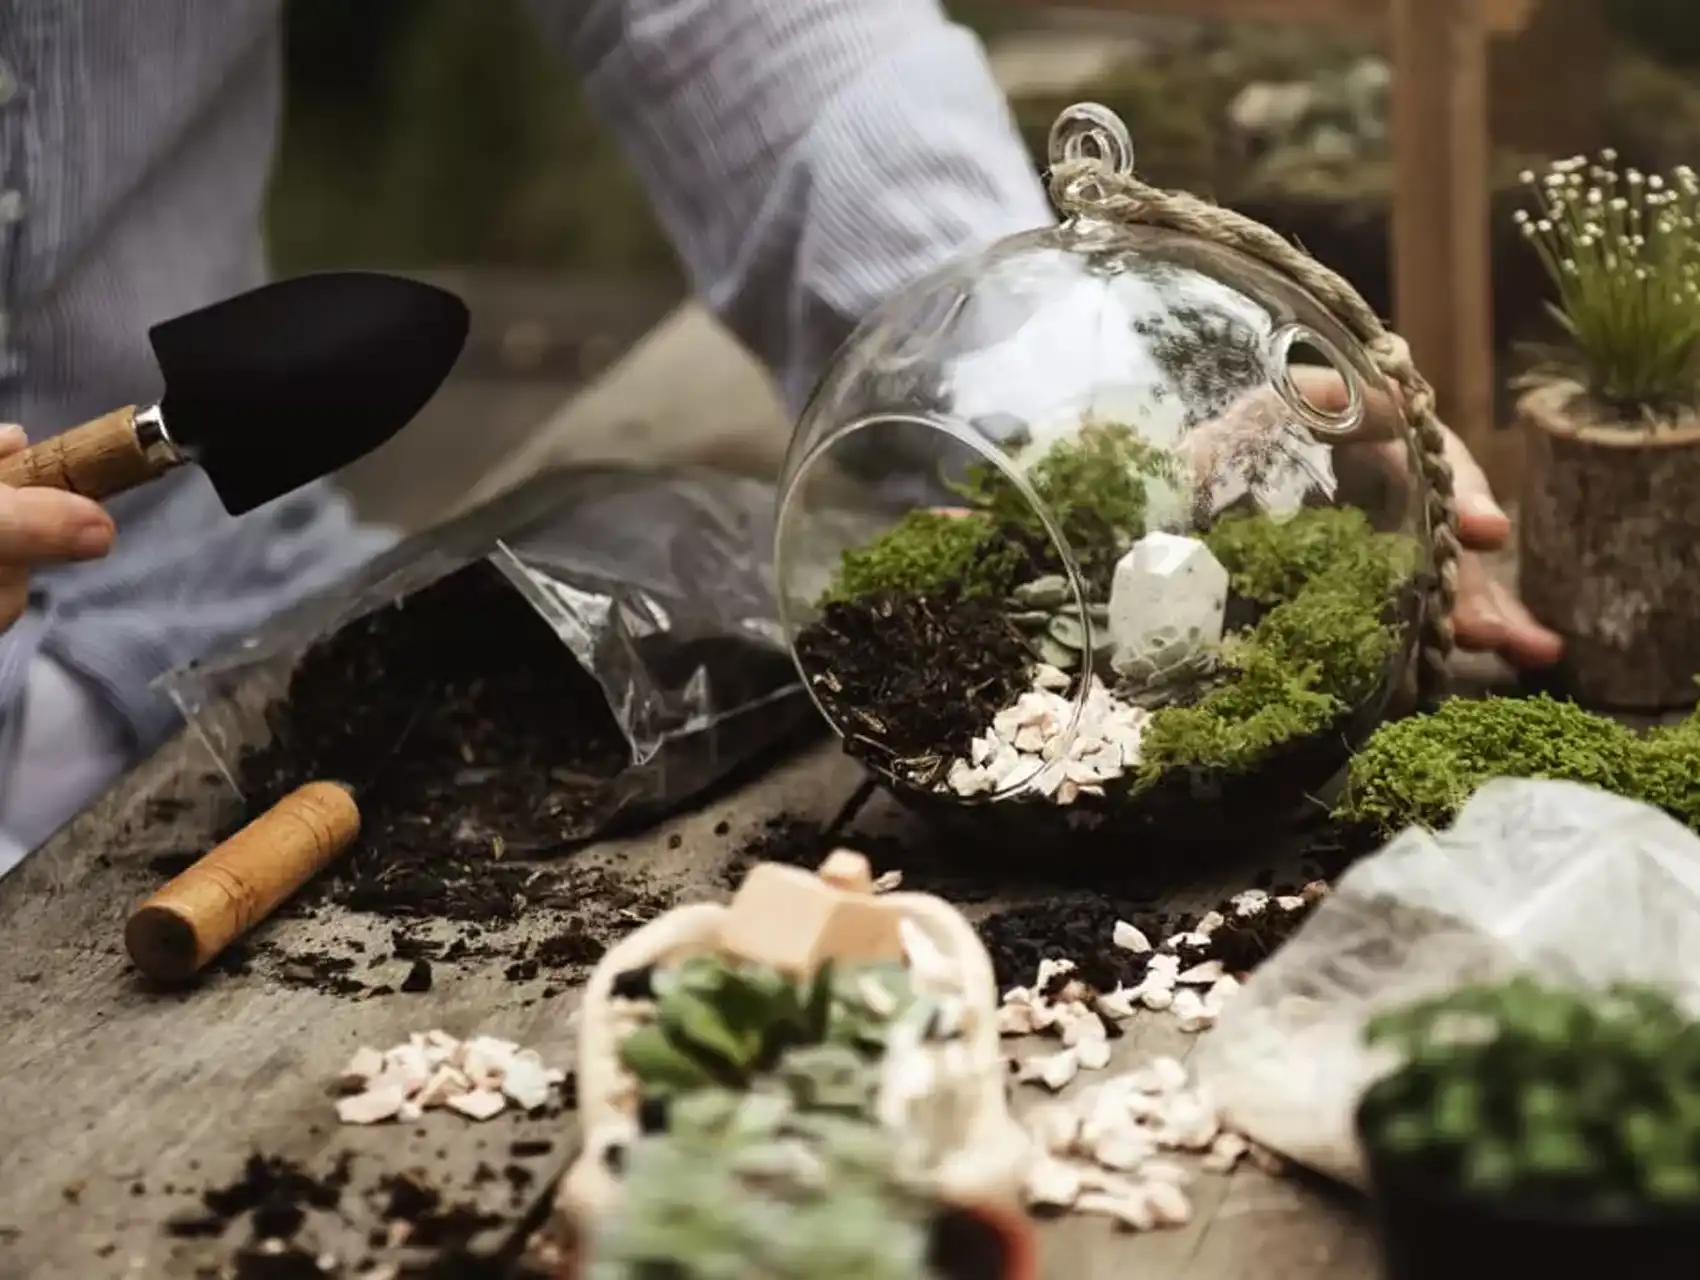
4. Assemble Your Terrarium
Layering the live material in your spooky DIY terrarium is critical for the longevity of your plants. Closed terrariums need to start off with a crushed sand and charcoal layer for drainage. However, open terrariums have more options, allowing you to start with soil if you choose. Once that first layer is down, add some small pebbles. For this gothic delight, we recommend using dark colors like blacks and purples, which can be found at your local pet store in the aquarium section.
Next, add another layer of sand and crushed charcoal. Finally, add a layer of the potting soil with holes large enough for the roots of your plants. If you decide to stick with mossy rocks, then you won’t have to worry so much about the holes for the plants. In total, all these layers should measure to be about 1/3 of your terrarium. Of these, the soil layer should be the thickest, as it holds the nutrients for your chosen plants.
5. Add Your Plants
Terrariums are relatively small when you think about adding live plants. If you decide to have an open container terrarium and want to add succulents, make sure they do not touch as they are growing. When succulents get too crowded, they will begin to create extra humidity and moisture that can build up mold. In the holes that you previously created, add the plants of your choosing. Also, as you design this spooky scene, think about what artificial components you will be adding to it.
Artificial black foliage and zombie parts can touch any of the live materials without concern. If your container is more cylindrical and tall, think about how to build your design upwards with both real and artificial components. Finally, once your plants are in the correct spots, make sure their roots are covered. Slow-growing plants are another great avenue to consider in avoiding overcrowding and molding.
6. Decorating
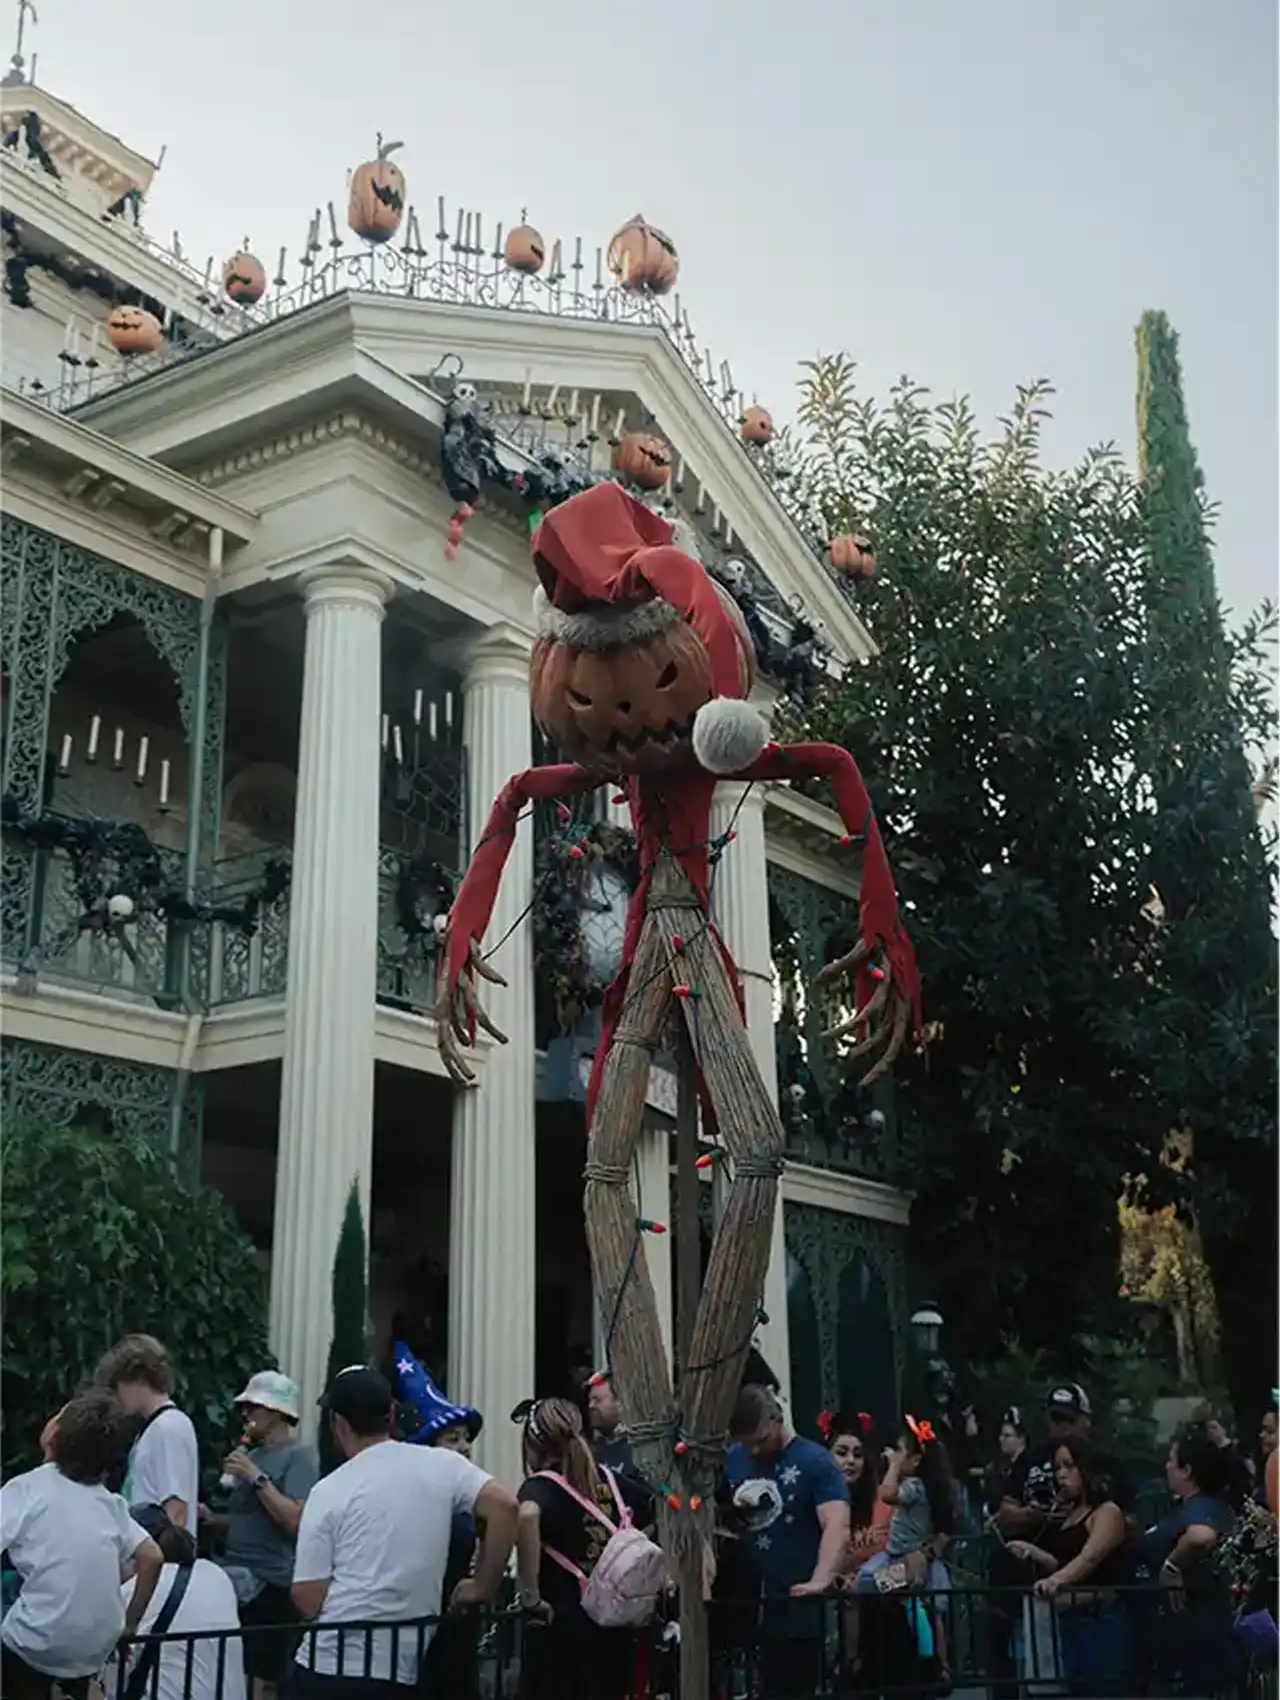
Here comes the fun part – completely indulging in your personal Halloween aesthetic. Spooky graveyards are such a classic symbol of mystery and mayhem. You can have a fun-filled graveyard like the tombstones of Disney’s “The Haunted Mansion”, you can recreate the death of your favorite pop culture icons, or maybe you have something far more clever in store. Whatever tombstones you create, remember to have fun with them. Once you place your tombstones, begin to add more of the artificial plant pieces like dead, black trees and black moss.
Zombies and skeletons may walk your graveyard, and they deserve some space, too. Additionally, painting some red blood on your container can make the scene more immersive. Remember that your container should be visually appealing, no matter which way you look at it. Hanging terrariums can be seen from 360 degrees, so keep that design element in mind. If you decide to back your terrarium into a corner so only three-quarters of the scene is visible, then you can leave one-quarter of the terrarium empty.
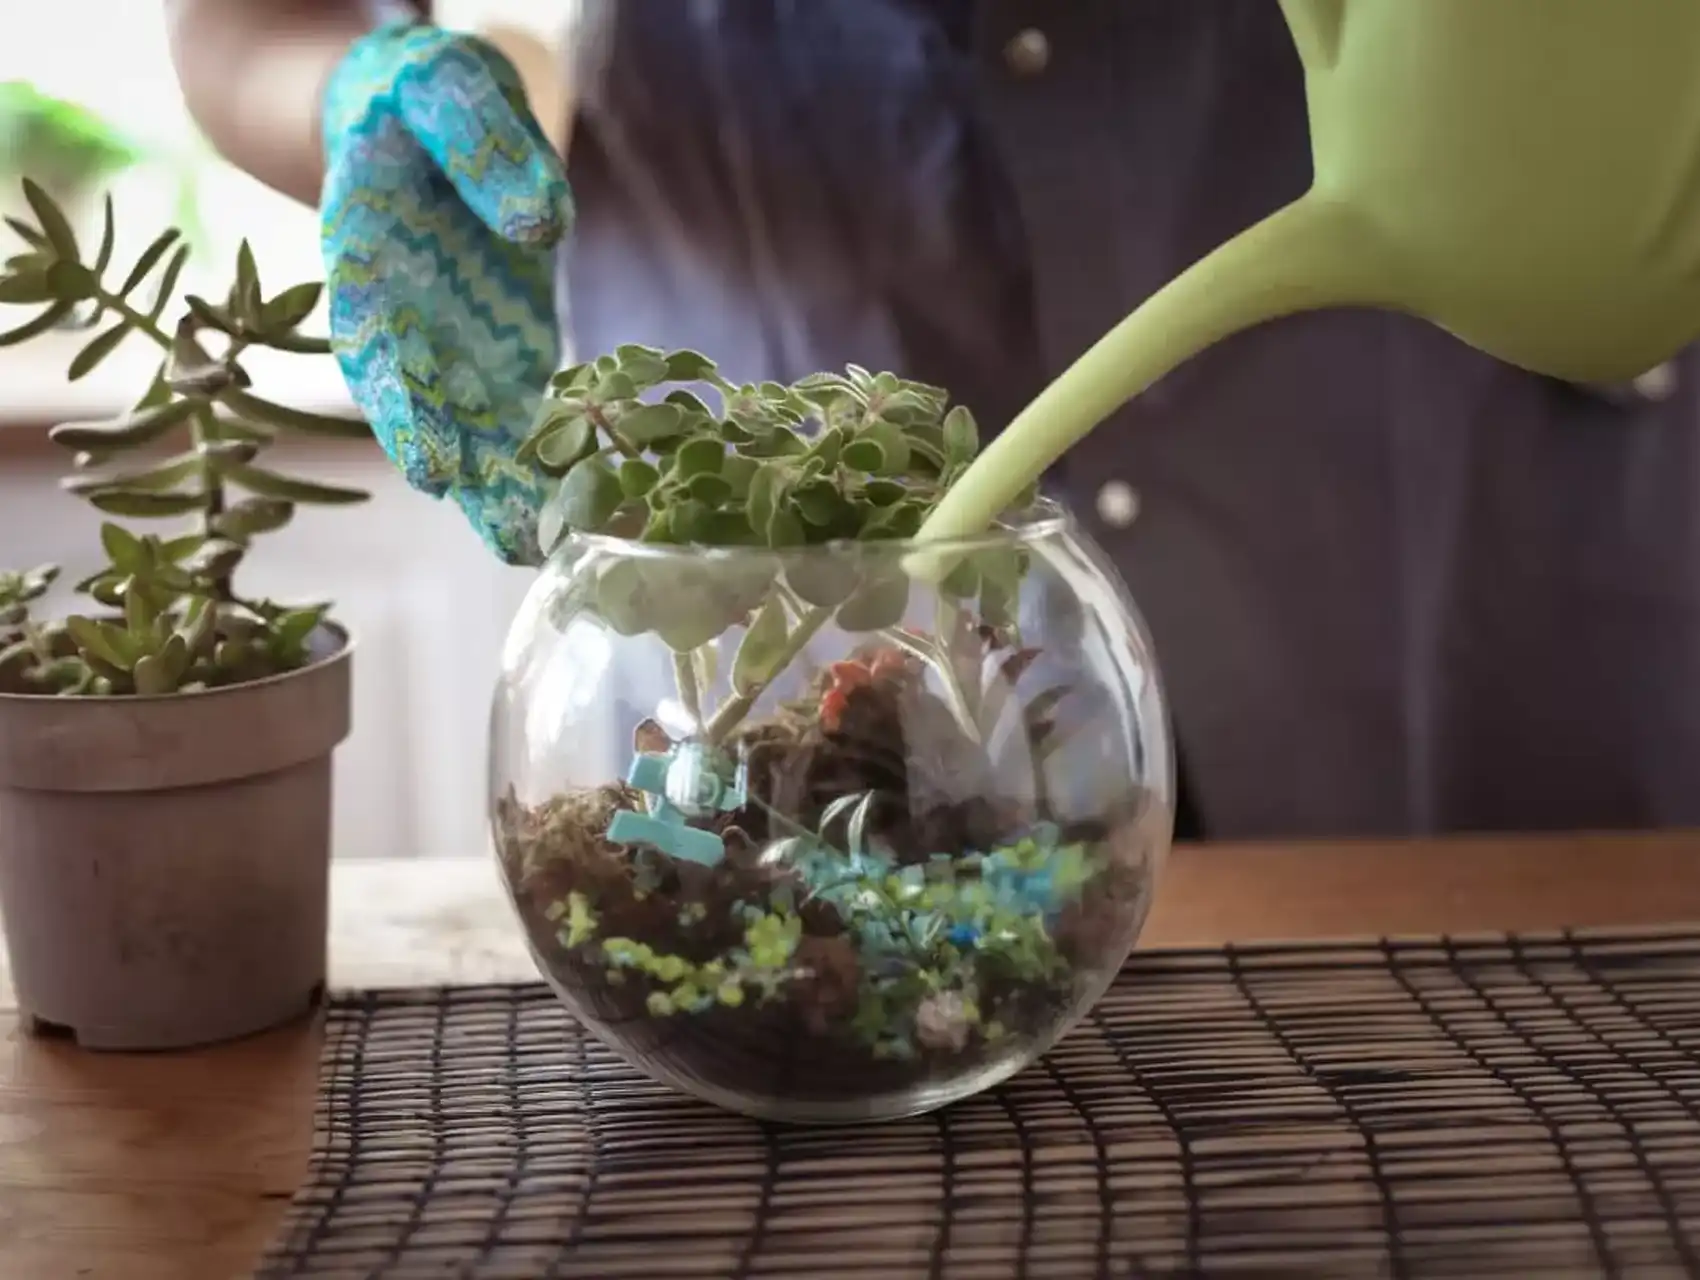
7. Watering
Real plants need water to survive. In order to water your plants in your terrarium, lightly mist them once a week. You also do not want to over-saturate them, since plants can create mold, especially in a more enclosed container.
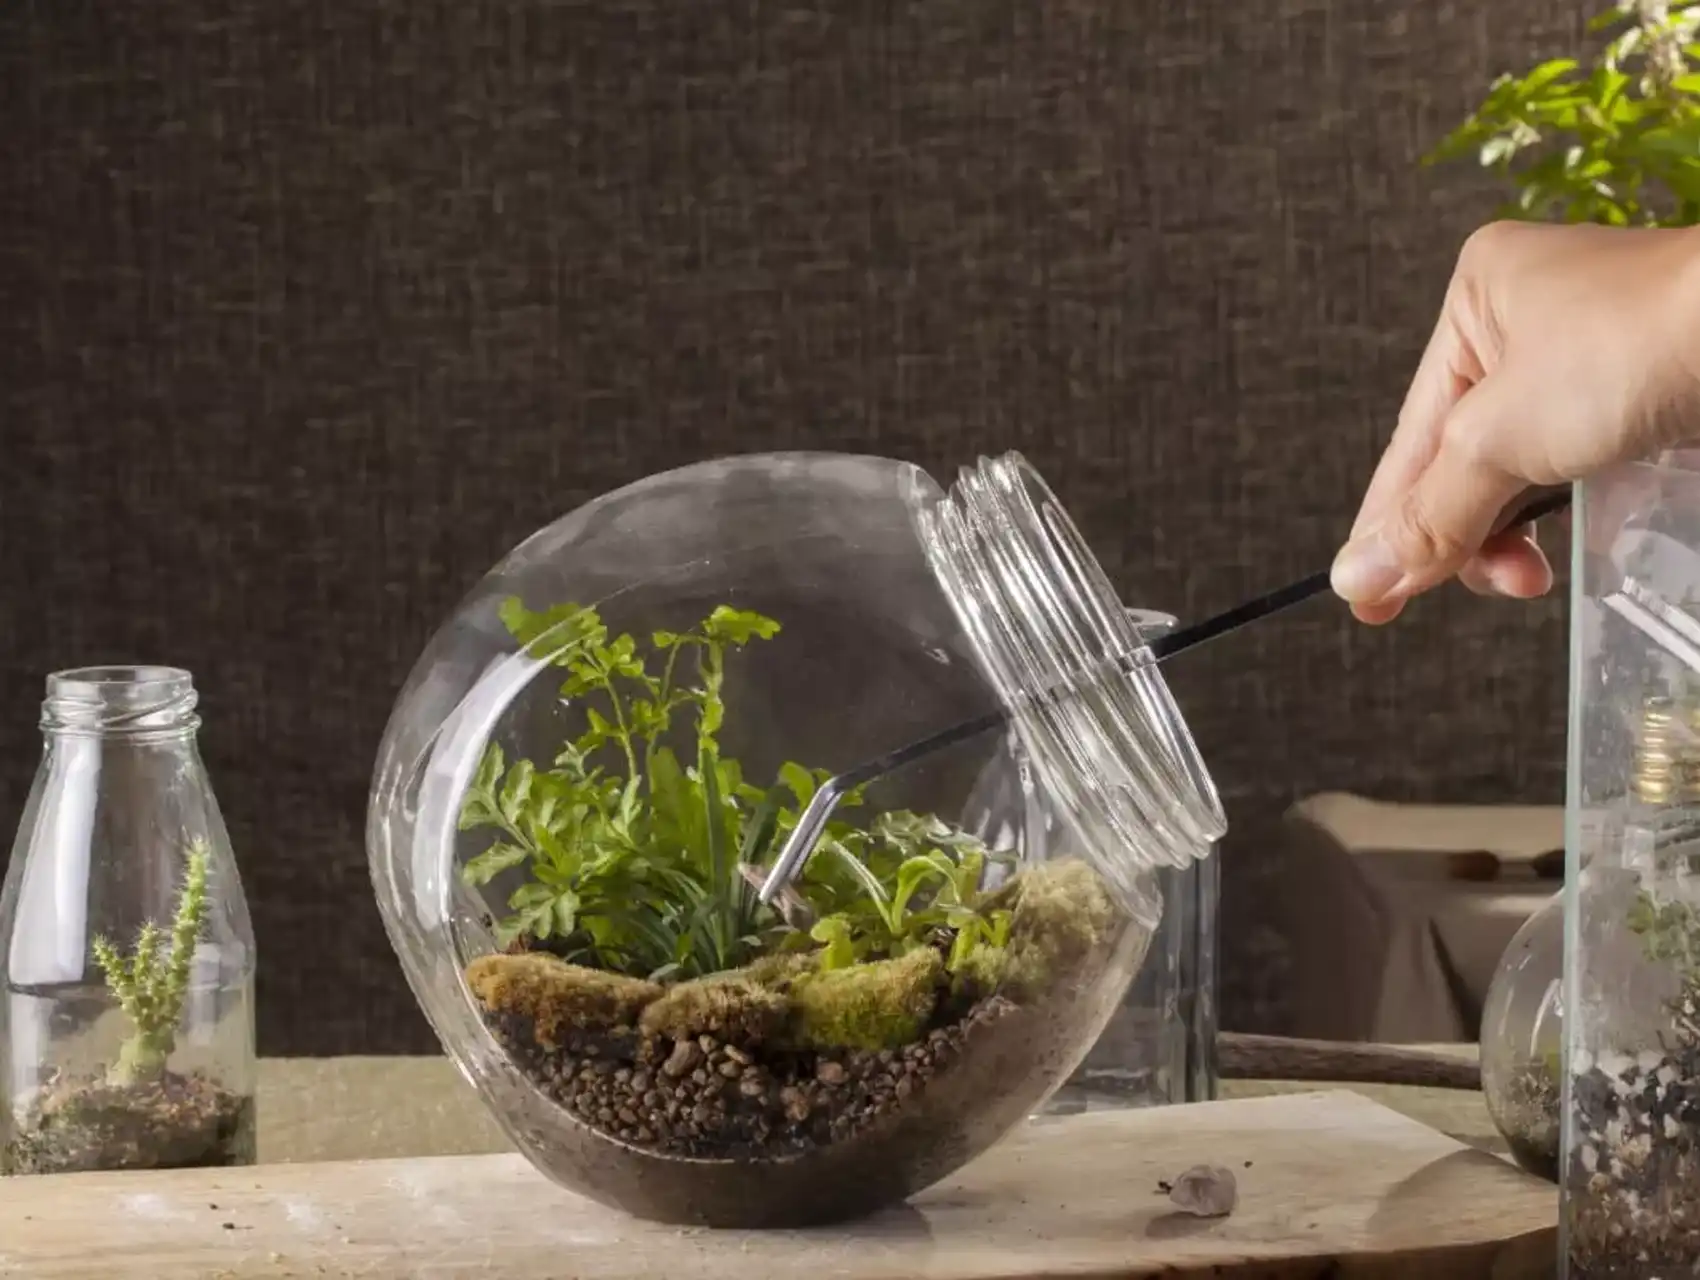
8. Pruning
As your plants grow, you may notice they will start to get overcrowded. In order to prevent rot from manifesting, prune your plants gently and with precision. Tweezers are a great tool to have, since they can delicately remove dead leaves without disturbing your spooky terrarium scene.
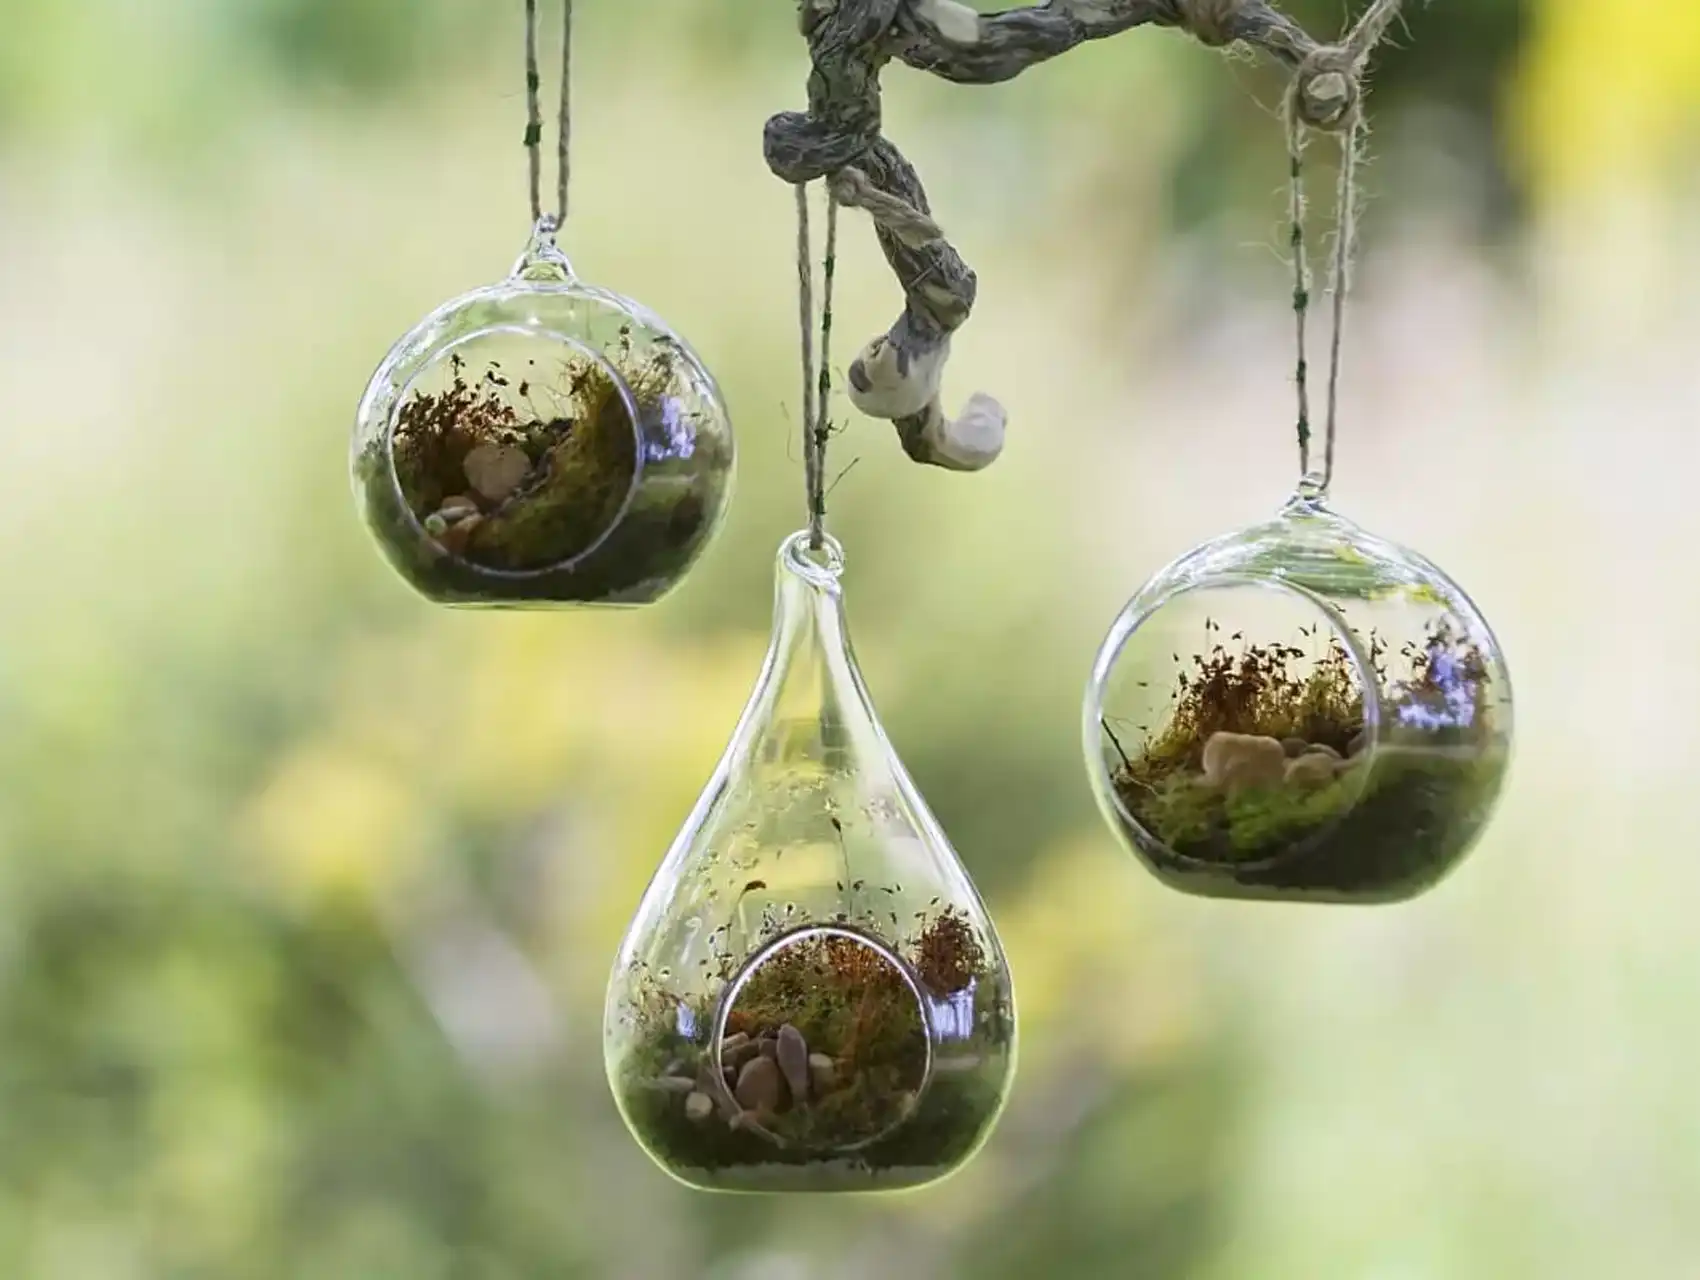
9. Hanging your terrarium
If your container is going to sit somewhere in your living space, make sure it’s out of reach from animals and children. You don’t want anyone accidentally tipping over and breaking your work of art. If you are hanging your terrarium, then be sure to drill a sturdy hook into the area where you want your terrarium to hang.
One suggestion is to use a mixture of hanging chain and sturdy twine to attach to your terrarium. Make sure to also measure how low you want your terrarium to hang before gently hanging your terrarium. You probably want to avoid places that have heavy foot traffic, especially if you have taller friends who may bump into them.
Final Words…
Terrariums are such a fun way to try your hand at a DIY terrarium with a green thumb (keeping plants alive can be pretty challenging)! And there are so many fun additions you can make to this spooky DIY terrarium project, such as adding cobwebs with spiders or even having some spooky lights to enhance the overall effect.
But if spooky season isn’t your time, then perhaps design your own DIY terrarium for the holiday season with fake snow and snowflakes. There are so many DIY terrarium options to showcase your personality with this engaging project, including hanging terrariums that work well with air plants and simple designs. When creating your DIY terrarium masterpiece, always remember to have fun and design what feels right to your own eyes.
Is it cheaper to build your own terrarium?
Some owners feel that building a reptile enclosure is less expensive than buying one, while others prefer the convenience of pre-made enclosures. Prices can range from $100 to $1000, depending on size and materials.
How long do terrariums usually last?
From four months to two years
Terrariums can endure for decades if given the right maintenance and ideal conditions. However, the typical lifespan of a terrarium is approximately four months to two years. A terrarium’s lifespan depends on a number of factors, including light, moisture, temperature, plant selection, and container size.
What not to put in a terrarium?
Due to the excessive humidity, cacti and succulents are not well suited for growing in terrariums. A dish garden would be a better option for these plants.
Orlando’s Thrilling 2025 Halloween Bar Crawl: Exciting, Festive Fun With a Pumpkin Patch and More!
Halloween 2025 is here, and you’re probably wondering…
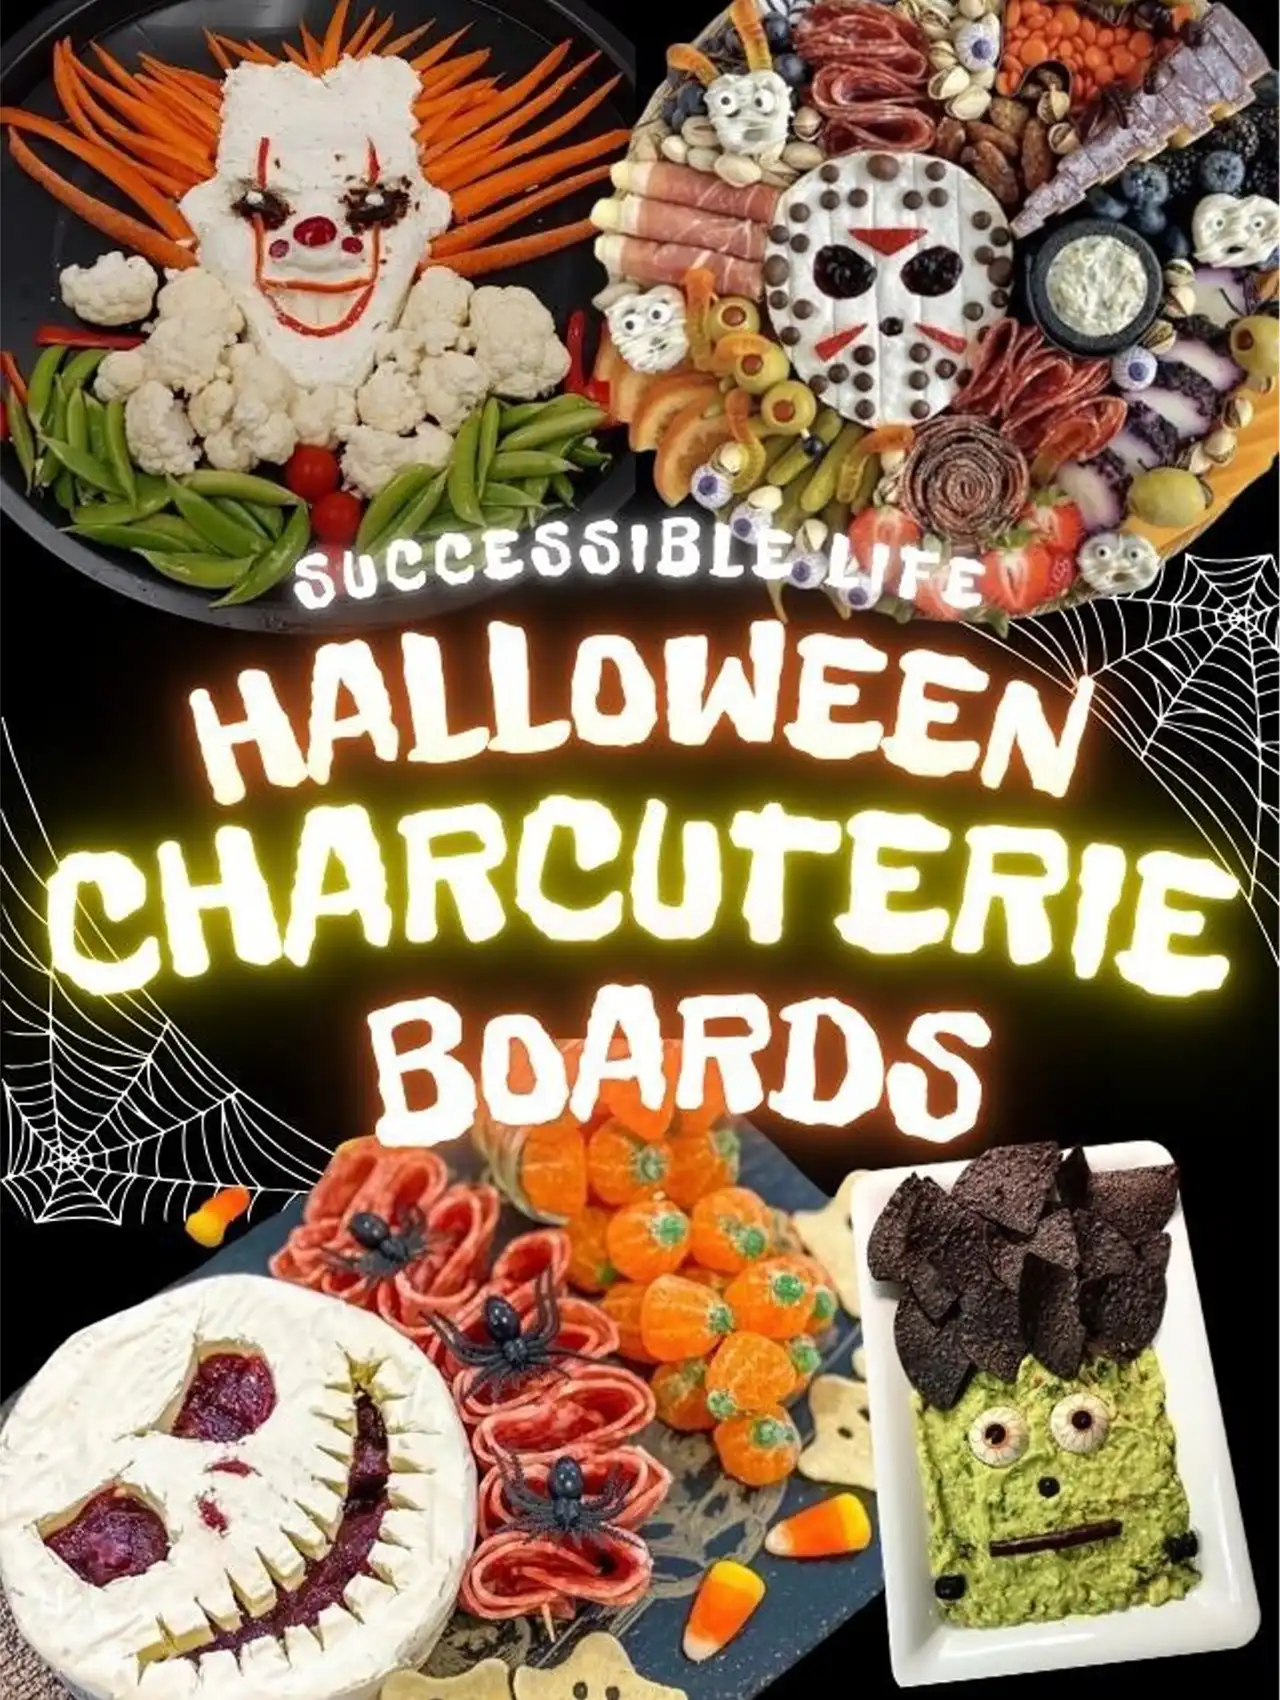
Halloween Charcuterie Boards How to Craft the Perfect Spooky Spread | 2026
Halloween is the perfect time to add a…
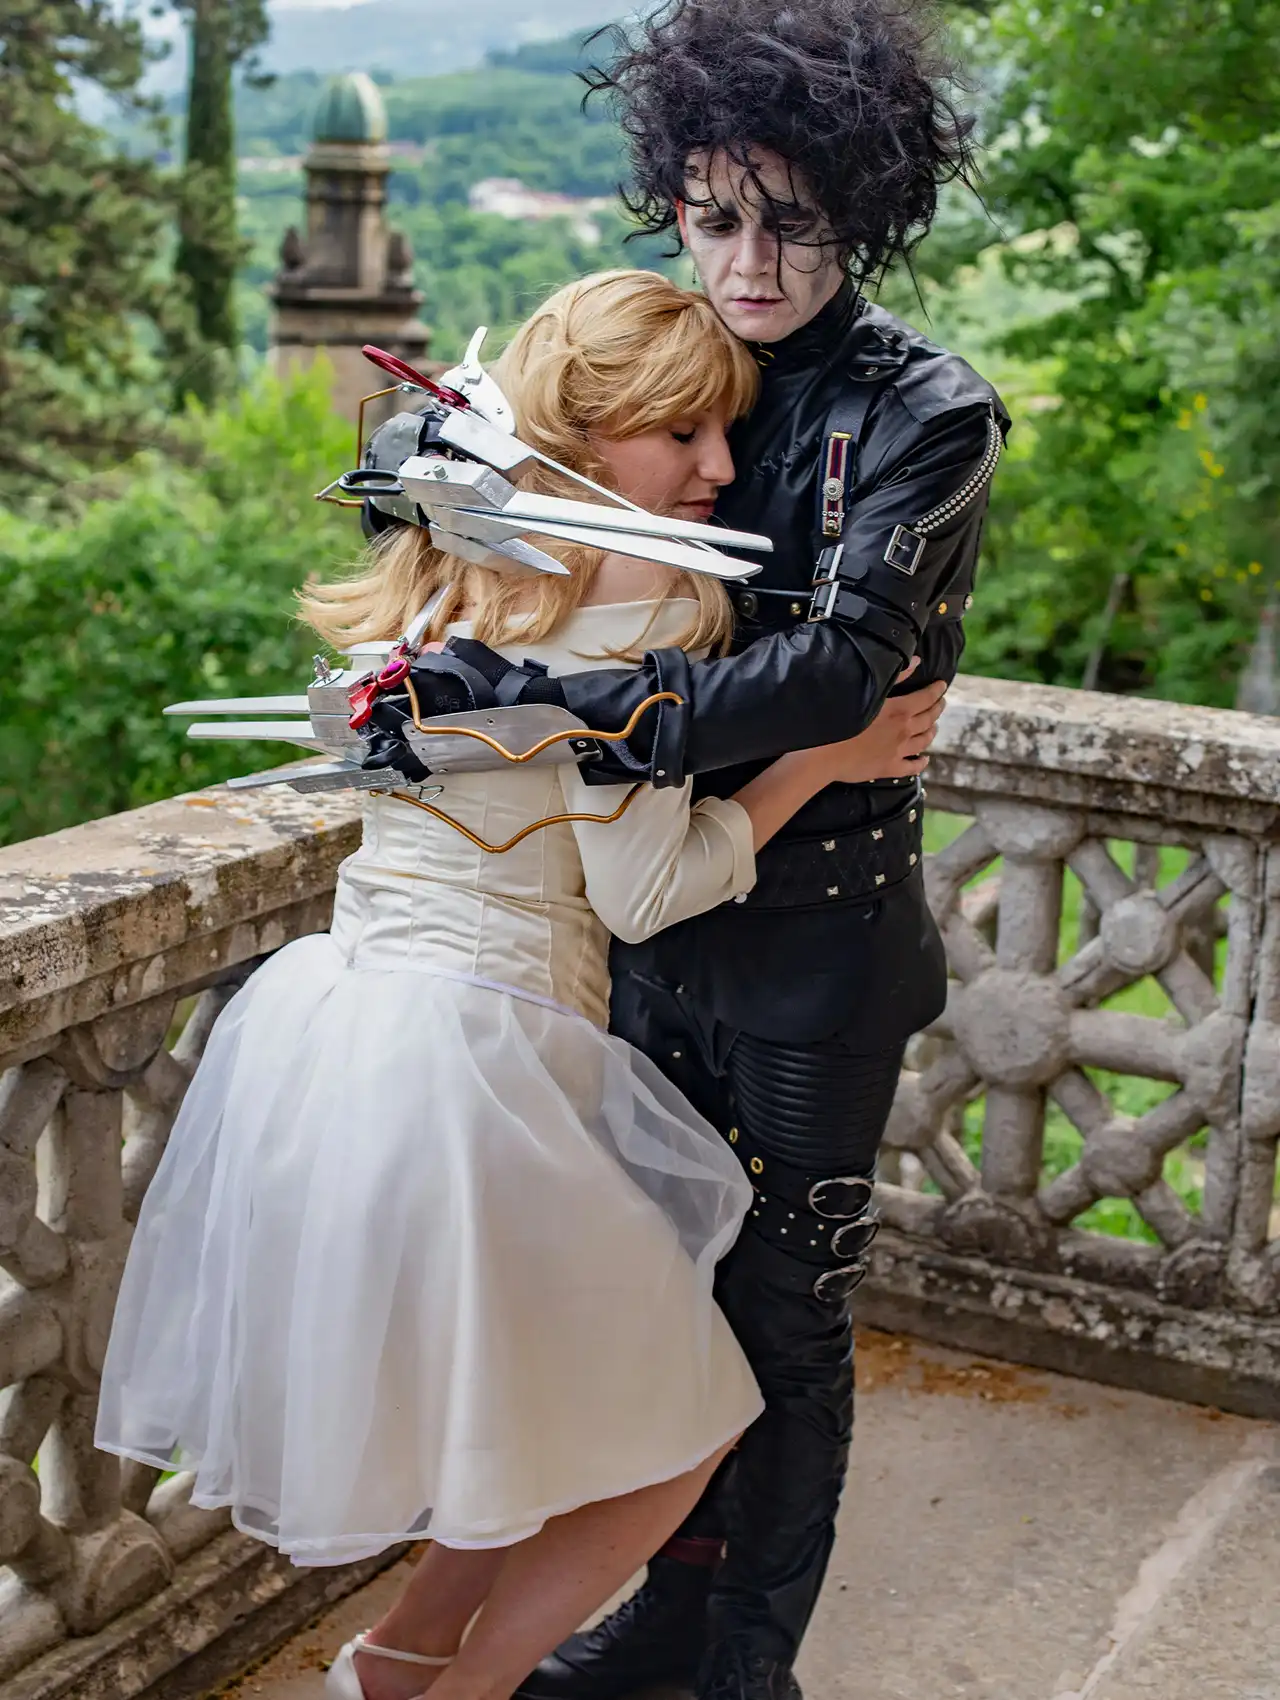
12 Trendy TikTok Viral Costumes for a Memorable Halloween
Spooky season is upon us, friends, which not…
7 Healthy, Glorious Vegan Halloween Candy Options That Also Taste Good
Here at Successible Life, we post lots of…

Meet Kourtney, a writer specializing in sex and relationships. Known for her honest and insightful approach, she explores themes of intimacy and personal growth. Her work combines personal anecdotes, expert opinions, and practical advice, helping readers navigate the complexities of modern relationships and embrace their desires. Kourtney's writing serves as a guide for those seeking authentic and fulfilling connections.