Last Updated on March 28, 2025
Whether you are crafting things or words, nature can be one of the most inspiring resources at your disposal. It encourages an open mind and innovation by creating something out of nothing. Jewelry is especially beautiful because gems come out wonderful as they are from the ground. As nature is the harmony of beautiful things, why not combine both of these elements (nature and beauty) with a beautiful natural jewelry holder?
As it turns out, tree branches that naturally fall down are incredibly useful when it comes to not only organizing your jewelry but also displaying all your treasures. By the art of Feng Shui, the art of balancing all the elements in your home, doing this can actually promote peace and harmony. The element of wood has primarily yang (active energy), but it also has elements of yin (receptive energy). It is also associated with the season of spring and new beginnings, new life, and new growth. It has the qualities of combined strength and flexibility.
Creation is often the ultimate act of reflection. Therefore, when you begin to design your jewelry holder, do so with an intention to promote a quality that you want to embody. For example, if you want more passion in the home, then perhaps red may be a color you paint your branch. In any case, here are some of the steps you can follow in making this intensely personal and useful craft:
Simple DIY Jewelry Tree Holder
1. Picking Your Tree Branch
Find a sturdy tree branch that will be able to hold necklaces. This tree branch needs to have a thick diameter and multiple branches that are sturdy enough to hold lighter objects as well. Picking out a branch is the most important design element, so choosing the proper branch will save you the headache of it breaking under the weight of the jewelry. Another factor to consider is how well your wall will hold this tree branch. Longer, medium sized branches do very well at both holding jewelry and staying on the wall.
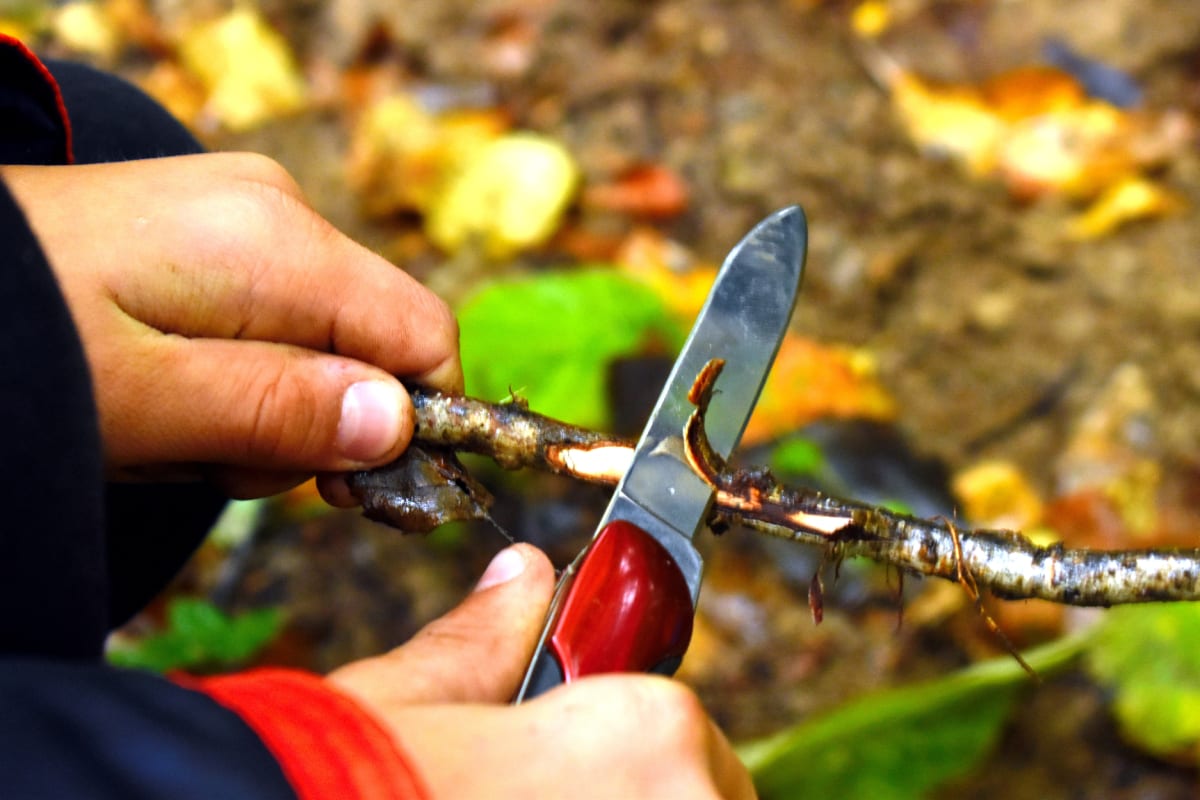
2. Cleaning The Branch
Clean the tree branch first by picking off the leaves and little critters that you don’t want. Next, clean the branch by treating it with a good wood treatment. This treatment will seal the branch so that it does not continue to decay and there are no other living critters in your jewelry holder.
3. Designing Your Wood
Once your wood is treated, you can either paint it, stain it, or keep it natural. Wait until the branch is completely dry before proceeding any further. This is where color theory and Feng Shui come into play. The colors you choose will embody the characteristics that what you want.
Perhaps you want a black branch because you want to have spooky vibes all year long. Maybe your branch may have all the chakra symbols painted onto it, or perhaps you want to write a mantra onto your branch. This is when your artistic flair should really shine. Doing this will also be the longest part in this whole process, so you do not want to rush. You more than likely will have to paint in layers to get the desired tone that you want. Priming the branch in white will also illuminate bright colors if that’s what you desire.
4. Planning What Jewelry to Hang
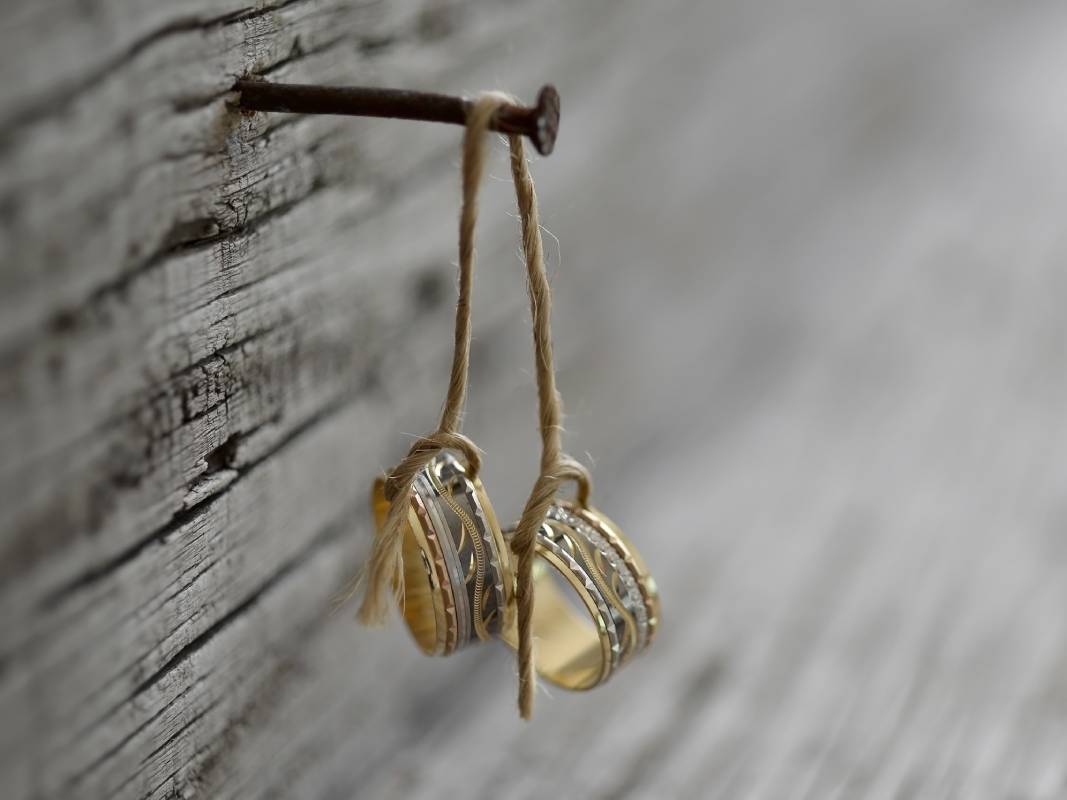
Once the branch is dry, then it’s time to plan where you want to hammer in some nails along the branch. Think about the pieces you are going to hang on it and how much weight you think this branch can hold. Start by hammering in a few nails into the branch, as they will serve as the spots your necklaces will hang. You want to be careful not to crack the branch by hitting too hard with the hammer. Make sure the nails are at least half to three-quarters of the way into the branch. You may want to practice this pressure on other branches before you start hammering into your decorated branch. You can also wrap the nails in some colored string or ribbon to conceal them.
5. Choosing The Right Location On Your Wall
Next, figure out where on the wall you want your branch to live. This means you need to see how flat the branch will lie against the wall. If your branch sticks out too far from the wall, then it will be harder to balance on the nails it will sit on. Corners can also be challenging spaces to use, so use your best judgement.
6. Finding The Perfect Fit
Once you figure out the location, add nails underneath the branch, and that’s where your branch will sit! This will take some trial and error to see what works best for your branch. Every branch has its own unique twists, so patience is needed to find the perfect fit. Think about it this way: your branch is Prince Charming looking for Cinderella, so be patient.
7. Hanging Your Branch
Hang your branch on the wall and make sure it won’t fall off. It’s important to not hang your branch near a door, since the vibration of opening and closing the door will knock it loose from the wall. This seems like common sense, but branches are large pieces on the wall that can easily fall down if they are hung incorrectly or near doors.
8. Placing Your Jewelry
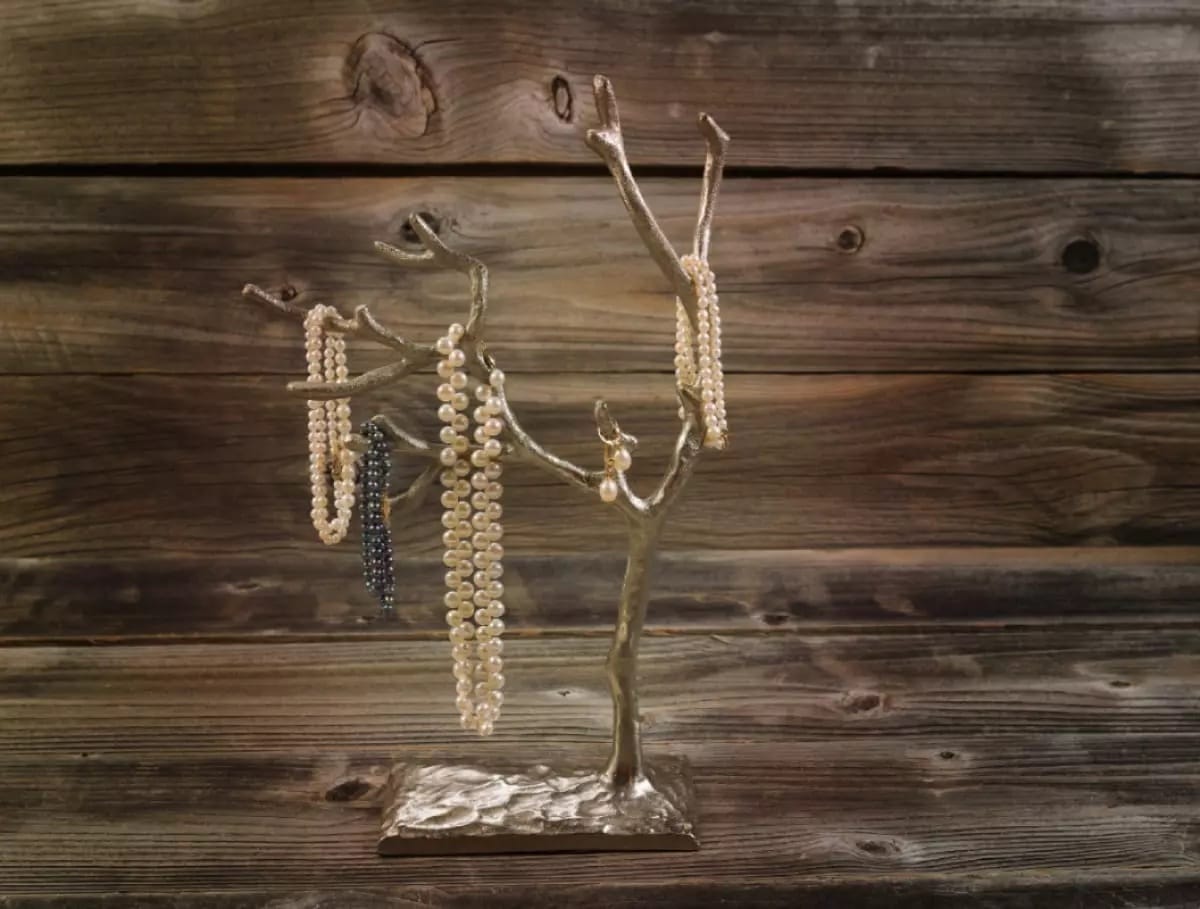
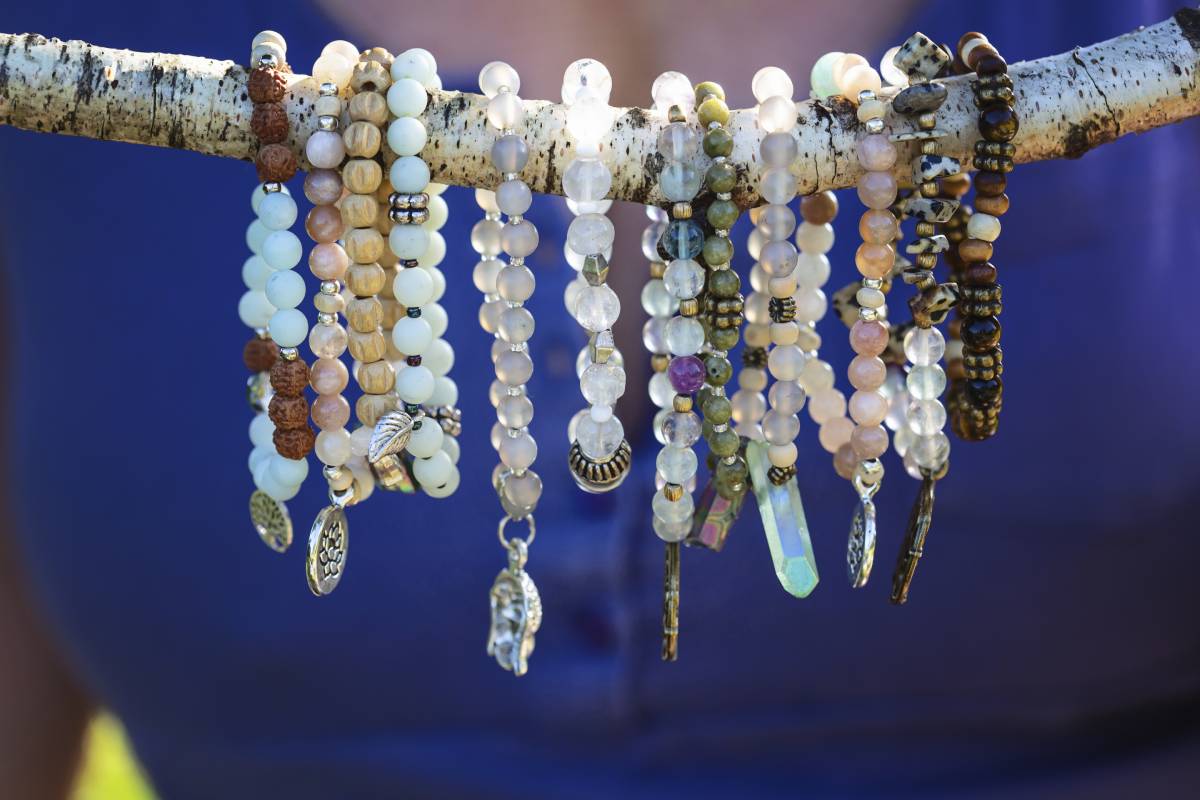
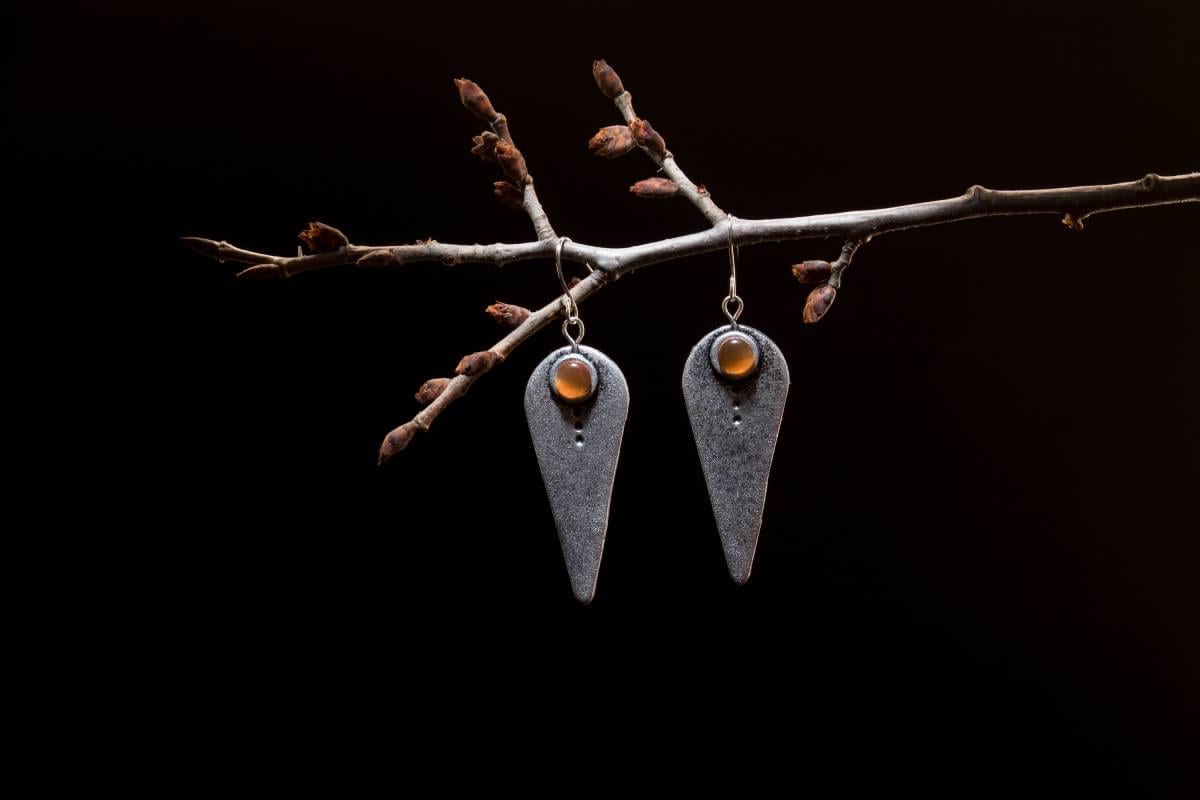
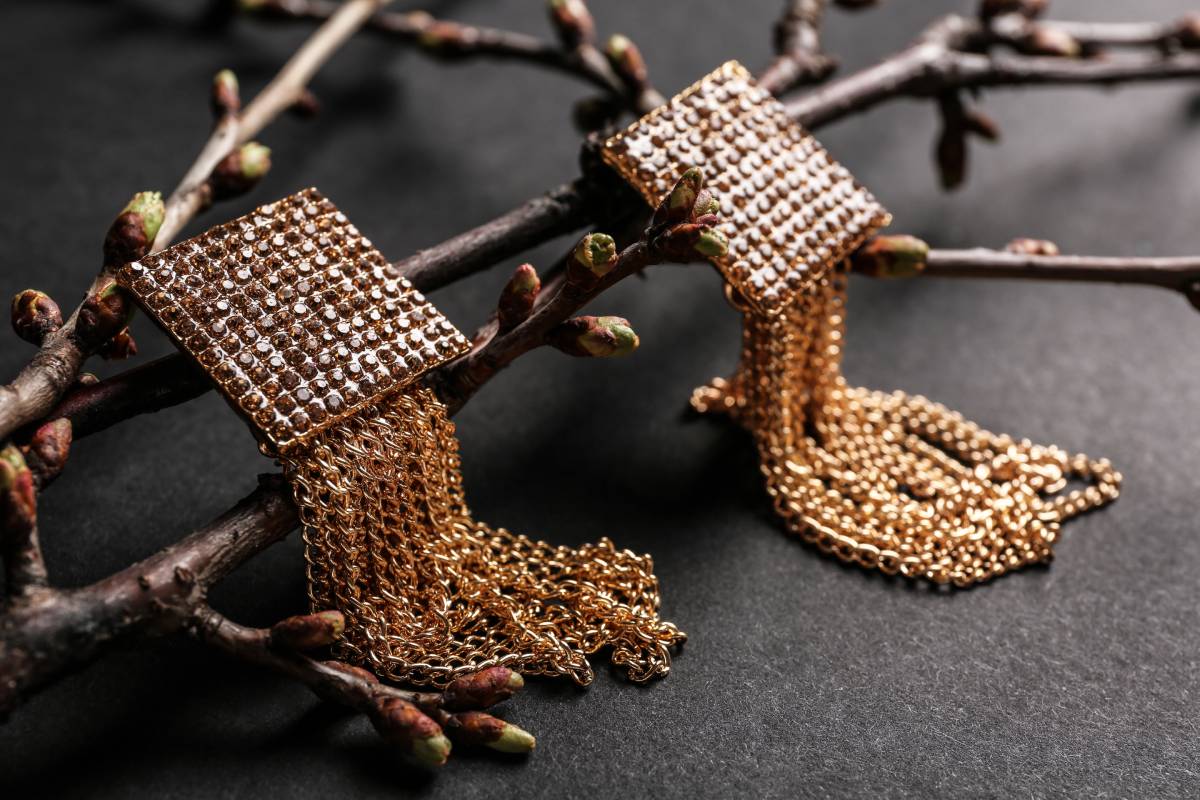
Now that your jewelry holder is up on the wall, it’s time to place jewelry on it to test its weight. Balance is important, so be mindful to even out your jewelry across the branch. Vary long and short necklaces, bracelets, and maybe even scarves. This is your branch, and it can really hold anything you want it to (weight permitting).
9. Add Your Personal Touch
Once your jewelry is placed on the branch, rotate your pieces as desired. And if you’re theming the offshoots or mini-branches, they can be color-coded to add a rainbow to any section of your home, or multiple pieces can create a statement piece of art. Each can also have a personality like Goth or Bohemian. All the facets of your personality (or as many as you choose) can go into these beautiful jewelry hangers.
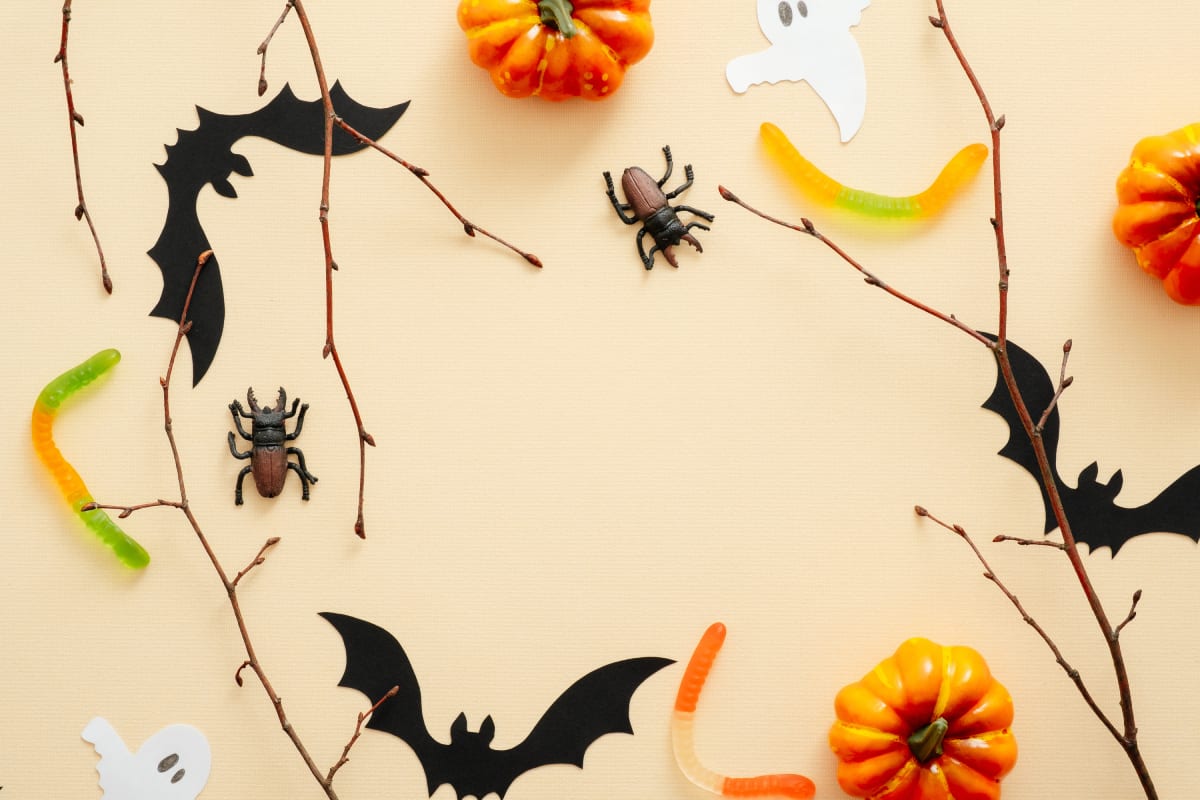
Once you create your jewelry holder, think about what else you can add to the overall design of your branch. Some offshoots may work hanging in a singular fashion, but you may want to cluster them for a greater effect. Also, you may want to theme your offshoots for each season. Perhaps for Halloween you place orange and purple lights with cobwebs on an offshoot, while for Christmas you add icicle lights. You can even stack offshoots together to make a fancy Christmas Tree that saves a lot of space but still gives off those lovely holiday vibes.
Yet another fun idea for your necklace holder is to create a forest scene with all your offshoots. If desired, you can print out pictures of woodland creatures you want to place on the wall as well. Some offshoots may even inspire a literary theme, where each offshoot could represent one of your favorite books. Also, just writing on your branch can also be a great and inexpensive way to add character to your home.
Conclusion
There is no wrong way to showcase your jewelry or choose what to hang on your branch. Each of the offshoots can hold belts, hats, or anything else lightweight that might be awkward to store. The general idea of your branch is to make things easier to find without creating a mess. Long, thin necklaces that are delicate may get lost in a jewelry box. You may even forget what pieces you have in your collection, so a branch would be perfect for you. The lesson is simple: home design does not have to be expensive but can (and should) be immensely fun. And this particular activity can be incredibly versatile. Remember: your most important priority for this project is to have fun and let your creativity run wild!
Here are a few hand-picked articles for you to read next:
- 10 Easy Ways to Instantly Look More Fashionable
- 7 Ways to Dress Confident and Classy Yet Trendy
- 10 Pairs of Stylish Sunglasses for Women With Any Face Shape

Meet Kourtney, a writer specializing in sex and relationships. Known for her honest and insightful approach, she explores themes of intimacy and personal growth. Her work combines personal anecdotes, expert opinions, and practical advice, helping readers navigate the complexities of modern relationships and embrace their desires. Kourtney's writing serves as a guide for those seeking authentic and fulfilling connections.